So you’ve made some bread that didn’t brown up quite like you would have wanted. Maybe it tasted heavenly, but the color kept it from being the show stopper you were hoping for. Even if it’s just for Instagram purposes, we understand the need for that golden-brown crust.
After all, people eat with their eyes first. It’s true for me, as nothing draws me to the kitchen like the smell of fresh-baked bread, and nothing draws me in for a bite quite like a beautiful golden brown sheen.
But, enough about me, let’s talk about why your bread didn’t brown up.
There are four primary reasons why bread doesn’t brown during baking:
1. Oven temperatures are too low.
2. Dough was over or under-proofed.
3. Too much steam was present during baking.
4. A wash was needed.
Depending on your recipe, we are fairly confident one or more of those are to blame for your pale/gray loaf. But let’s talk about each one in a bit more detail so you can better diagnose what is going on with your recipe.
1. Oven Temperature is Too Low
No matter what type of bread you’re trying to bake, if your oven isn’t reaching a high enough temperature, your bread just isn’t going to brown properly. Depending on how low the temperature is, baking longer might not add any additional color as well. If your oven is too low, baking for longer will likely result in pale bread that is dried out.
Us home bakers often jump through so many hoops trying to diagnose what is wrong with our recipe or technique, only to forget that our ovens are aslo a vital part of the equation.
Ask yourself if you regularly have to bake dishes longer than recipes call for. If your answer is yes, then you might be dealing with an oven that is a few degrees lower than what the dial actually says it is. I once had an oven that was nearly 25° F higher than the dial. For you though, maybe your oven is closer to 25° F under. That is enough to be the cause for pale bread.
Getting a simple oven thermometer (link takes you to Amazon) is a great way to check to see how your oven is performing. Since they’re so inexpensive we think every baker should have one in the oven at all times.
If you can’t wait for two day shipping, they are in most grocery stores in the states, and certainly at any box store near you.
One other thing to consider, is how wide of a range your oven has from the target temperature. Ovens are designed to overshoot a desired temperature by a few degrees before turning off the heating cycle. Then, after temperatures drop low enough, the heating cycle turns back on. It could be that your oven achieves the proper temperature but dips too low for too long before warming back up. Which could mean your bread spends too much time in the lower temperature range during baking to achieve that golden-brown crust you are after.
This is the case with our current oven, which is why we bake around 20° F above what most recipes call for. This gives us the best average temperature for browning with our oven.
You might find that you need to do the same.
2. Dough is Over or Under-Proofed
When we first got into bread baking, this was one of the most frustrating answers that I came across. And to be honest, it still bothers me. 🙂
It just seems to be the universal answer for everything. If something went wrong with your bread, someone somewhere will tell you that you either under-proofed or over-proofed your dough.
I always reasoned that it couldn’t be both. It has to be one or the other, both can’t be true. Or so I thought. But here I am years later, and sadly, I have to tell you that hundreds of problems can in fact be caused by one or the other, or both. I know, frustrating.
It just so happens that under-proofed bread, as well as over-proofed bread, create very similar problems for the lack of browning in bread. It has to do with chemical reactions and processes during the proofing stages.
For browning purposes, what you’re looking for is the right amount of sugar and protein content in the dough to develop so that it responds to high temperatures and browns during baking. This is what is known as the Maillard reaction.
As soon as yeast, flour, and water are mixed together, those needed sugars and proteins are either developed or enhanced via chemical reactions. However, if given too little time or too much time, they never fully develop or they begin to deteriorate.
Thankfully, if you’re following a quality recipe, the yeast will let you know when things are reaching the right balance. Don’t stray away from the recipe you are using and everything should be just fine.
Pro-Tip: Pay attention to your room temperature in order to hit the rising times the recipe suggests. For even more reassurance, look for recipes that include the ambient room temperature so that you can be certain you’re good to go.
Typically though, letting the dough rise to double in size and degassing (knocking/punching down) ensures that it will have enough time to develop properly if given a similar second rise. Just take care not to let the second rise get too puffy such that it easily collapses or shrinks when moving it to the oven.
All that said, the most likely offender of the two is under-proofing. This is true especially if you’re using a rapid rise recipe (a rise that takes 30 min or less). If you struggle to get good browning after checking everything else, you might just need to choose another recipe that calls for at least an hour first rise and an hour second rise.
But don’t worry much about over-proofed dough, it is incredibly easy to fix. Check out our post on fixing over-proofed dough here.
3. Too Much Steam During Baking
In many lean dough recipes (no added fats/oils), especially rustic loaves, steam is required to ensure there is a quality rise that takes place during baking.
For lean dough, crusts will dry out long before they finish rising. That will cause the crust to turn into a hard shell that keeps the bread from reaching its full volume. Which ultimately, will result in a pretty dense loaf of bread. To combat that, steam is often added to ovens to help keep the crust moist and flexible.
Over the last several years dutch ovens have become very popular for baking lean bread, as they actually eliminate the need for adding steam to an oven. This is the case because the moisture that escapes from the dough in the first few minutes is trapped inside the dutch oven. That moisture rests on the dough and allows it to continue to rise.
However, if that moisture isn’t eventually steamed off, the maillard reaction will not take place, which will result in a pale colored crust.
To ensure that browning occurs, most recipes call for opening an oven door to release steam about halfway through baking. If using a dutch oven your recipe likely suggests removing the lid at a similar time for the same purpose. With the steam removed, the bread will brown up beautifully.
If you’ve not been removing the lid from your dutch oven or releasing steam from your oven, give it a shot, we’re certain this will solve your problem.
Pro Tip: If your bread is coming out dark, but instead of looking golden brown it looks gray and colorless then you’re likely looking at not enough steam in the initial stages of baking. We really only see this happening when making lean bread without a dutch oven. To ensure this doesn’t happen, we suggest using a spray bottle to spritz your dough about every 5 minutes during baking for the first half of your bake. Just work very quickly to keep from causing your oven to cool down.
4. A Wash Was Needed
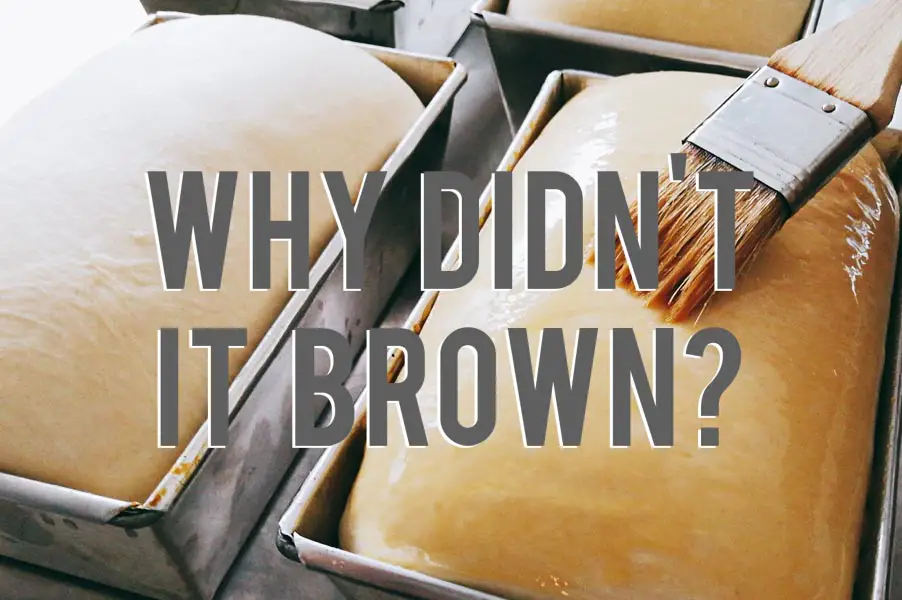
In many situations, bread simply needs some type of wash to achieve a golden brown sheen. In fact, if you’re making any type of enriched dough (dough with fat/oil) it’s likely a good practice to always do it. There’s already plenty of oil and/or fat in the dough anyway. What’s a little more going to do for the wasteline? 🙂
Seriously though, you’ll almost certainly benefit from adding a wash of some sort to any loaf of bread. Even lean doughs can benefit from having a water spritz.
When adding oil and fat washes the bake also gains better flavor and texture on top of improved color. Win, win, and win!
To get good browning for rolls and biscuits, a wash is especially needed as they just don’t bake at extreme temperatures, nor do they bake for very long. Again, it gives a crust extra moisture, sugar, and/or protein to ensure a good Maillard reaction happens.
If you’re wondering what type of wash to use, we put together a simple chart to help.
| Type of Wash | Finish | Taste | Commonly Used With |
| Water | Dull Browning / Little to No Shine | None | Sandwich Bread / Rolls / Rustic Loaves |
| Milk | Good Satin Brown / Fair Shine | Mildly Sweet | Sandwich Bread / Dinner Rolls / Buns |
| Egg White | Great Satin Brown / Good Shine | Subtle Egg Flavor | Brioche / Challa / Pie Crusts / Pastries |
| Egg Yolk | Great Satin Brown / Great Shine | Subtle Richness / No Egg Flavor | Brioche / Challa / Pie Crusts / Pastries |
| Whole Egg | Good Satin Brown / Good Shine | Subtle Egg Flavor | Brioche / Challa / Pie Crusts / Pastries |

