
(All links on page are affiliate links)
Vollrath Stainless Steel 3 Piece Mixing Bowl Set
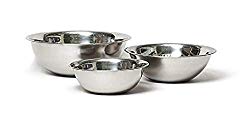
We originally started out with a set of Pyrex bowls, but we have been using metal mixing bowls lately and we ain’t going back, pilgrim. The reason we love it is quite simple: it is lighter than our Pyrex bowls and we don’t need to be gentle when using it. We can bang it around while kneading dough inside of it with no fear of chipping on the counter, or for similar reasons toss it in the sink regardless of what is under it or without thought of what we’re going to need to toss on top of it. This is key for us because counter space is always an issue when we are making bread, so having to baby a glass bowl during the process got a bit old. These guys by Vollrath are the people’s choice over on Amazon and recommended by America’s Test Kitchen. No frills here, but your bread is the star of this show, not your mixing bowl. The 5 qt is a perfect size for mixing dough, while the 2 smaller sizes in the set are great sizes for levains and other ingredients.
USA Pan Bakeware Aluminized Steel 8.5 x 4.5 or 9 x 4 Loaf Pan

Once upon a time, We thought a loaf pan was a loaf pan. Our glazed ceramic 9 x 5 produced perfectly fine quick bread. That pan should work for any bread, end of story.
When we got into yeasted bread, we quickly discovered that, although we were having great success with artisan-style bread, sandwich loaves were another story. After a little research, we realized that it is very important for the final rise to match the dimensions of the pan a recipe calls for. For a variety of good reasons, which we will not dive into here, but most sandwich recipes call for an 8.5″ x 4.5″ loaf pan. That half-inch difference might seem small but it makes a big difference in the height/density of the final loaf. Unless you want to constantly be doing the math to increase your ingredients to match that extra half-inch difference every time you want to try out a recipe, get an 8.5″ x 4.5″ and simply and finally enjoy a sandwich loaf from home.
We found our better loaf pan in this one by USA Pan Bakeware. It shows up on a lot of lists for recommended bakeware and has high ratings, so we figured we’d give it a shot. And we absolutely understand why it’s so popular. Not only does the smaller size produce taller, fluffier bread, but the ridged design means that, with just a light greasing, loaves slide right out. And the bake is amazing, as it produces perfect loaves every single time. Additionally, it is a quality piece of metal. Sturdy and well made. We are hoping that it will last us a lifetime. The 9″ x 4″ is also a great option for sandwich loaves as well, many recipes also are adapted for this size!
Mercer Culinary Millennia 10-Inch Wide Bread Knife

For the longest time, we didn’t have a real bread knife. We used a somewhat-dull santoku knife, or, even better, a serrated steak knife to slice our bread. Needless to say, it was pretty frustrating. Especially when we’d pull a big, beautiful loaf of bread out of the oven only to chew it to bits in the process of slicing it up. Grrr! We probably would have been better off using a weedwhacker.
Once we knew we were in love with bread making, this was the first “expensive” purchase we were ready to make for our hobby. We wanted to be sure we loved this craft first because we just knew a quality bread knife would set us back a good bit of coin. Plus you know, it’s a bread knife. You only do one thing with it, cut bread.
However, we should have looked into it sooner, as we were completely wrong about the price point for a great bread knife. This guy is widely touted as the best bread knife on the market and is surprisingly affordable. One might even say cheap. But don’t confuse the cheap price with the quality of the knife. This thing is incredible.
We must admit that we didn’t do all the research on this one, as we didn’t have to. We found a review by America’s Test Kitchen which was pretty extensive and covered a wide range of price points. That review is how the Mercer Culinary bread knife even showed up on our radar. It beat out all of its competitors even though it was among the lowest-priced options. We were a bit skeptical to be honest because it was priced so low. But it has been by far one of our best purchases for the kitchen.
We love that it is long enough to cut cleanly through large loaves with room to spare. Hurray for straight even lines. We absolutely love that it is sharp enough that no real pressure is needed to glide through our crusty artisan loaves or move through sandwich loaves like butter. Gentle sawing motions are all it takes to cut right through. Better yet, and true to the test kitchen results, ours has stayed sharp through tons of use. We don’t anticipate it slowing down any time soon either. With this guy and our trusty USA Bakeware loaf pan, we actually get to enjoy lovely sandwiches using homemade bread!
OXO Good Grips Chef’s Precision Digital Instant Read Thermometer

Since water temperature was one of our biggest unknowns when it came to baking bread, the OXO Good Grips was one of the first things we bought when taking up bread baking. We have had zero complaints or regrets that we got this one. It is a no-frills and no-fuss kind of tool that just works. It’s so nice to know that we’re not killing our yeast with too-hot water, or setting ourselves up for a longer-than-planned-on rise time with water that’s too cold. It’s also great to be able to check the internal temperature of our loaves if we’re unsure that they’re done. Plus, this is just another one of those kitchen staples that makes all areas of cooking just a little easier. Our meat game is on point now as an added bonus! Years later, it’s still going strong! I love things that just work.
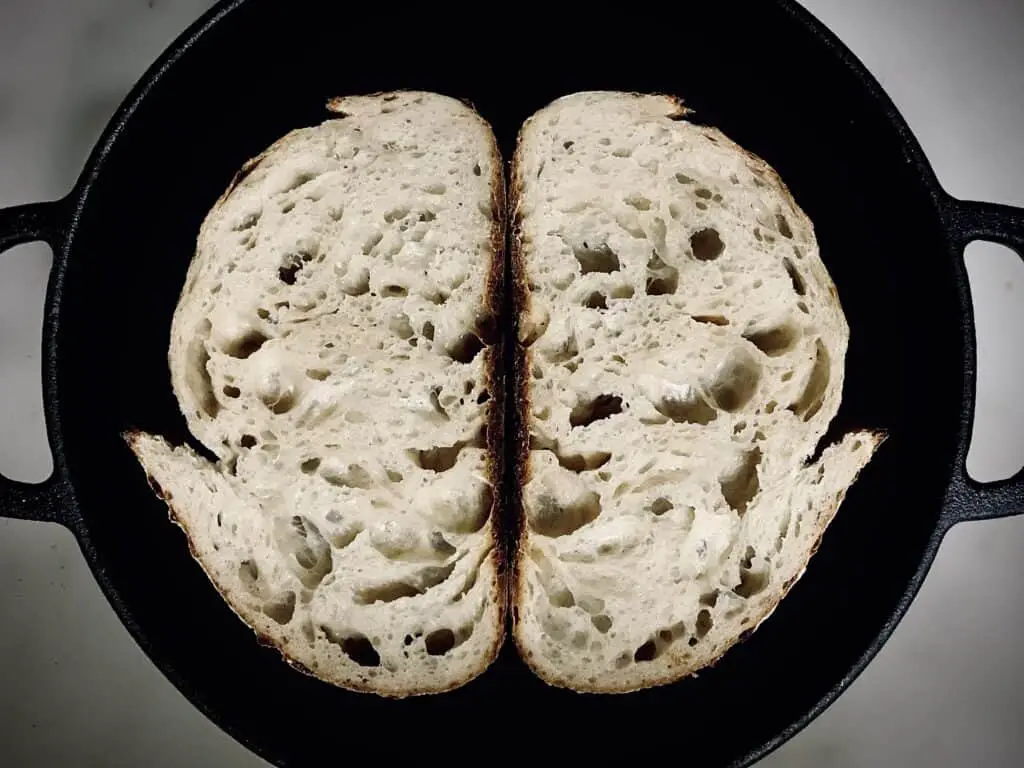
Cuisinel 5 Quart Cast Iron Combo Cooker
We received a 6 quart Lodge Dutch oven with enamel coating as a wedding gift and used that for the first year of our bread baking endeavors. However, we noticed over time the enamel was turning black from the high heat which was causing the bottom of our bread to burn. We switched to a higher-end La Cruset, and have been seeing the beginning signs of the same thing happening to the enamel. Though there are no burned loaves yet, we want to stop using the Cruset in order to save it.
We originally looked at the Lodge version of this Cuisinel, but ultimately went with this one because it is lighter and better priced. There was also a long handle version but this one fits better in our oven especially while making multiple batches of bread at one time. We find we like to make a sandwich loaf at the same time we make the rustic round in this Dutch oven.
Instead of the traditional Dutch oven, we’ve wanted to give this type of Dutch oven a try for a while because we knew it would be easier to position our dough in the shallow pan (upside down option) and use the deeper pan as the lid. We’ve deflated our fair share of dough trying to position it in a 500-degree Dutch oven because we don’t want to burn our hands.
Also, without an enamel surface, we have no worries about damaging it with the high heat. And ultimately, it’s just such a reasonably priced solution for the charring enamel and burned bread issue we’ve been having.
After many many months and bakes testing this guy out, we love it! Our bread bakes perfectly inside. Nice even color all around the loaf. And as a bonus, this thing is holding up with little fuss at all. Oh, and no need for parchment paper! Our dough never sticks in this thing!
Bread Story Proofing Baskets, Oval and Round (Bannetons)
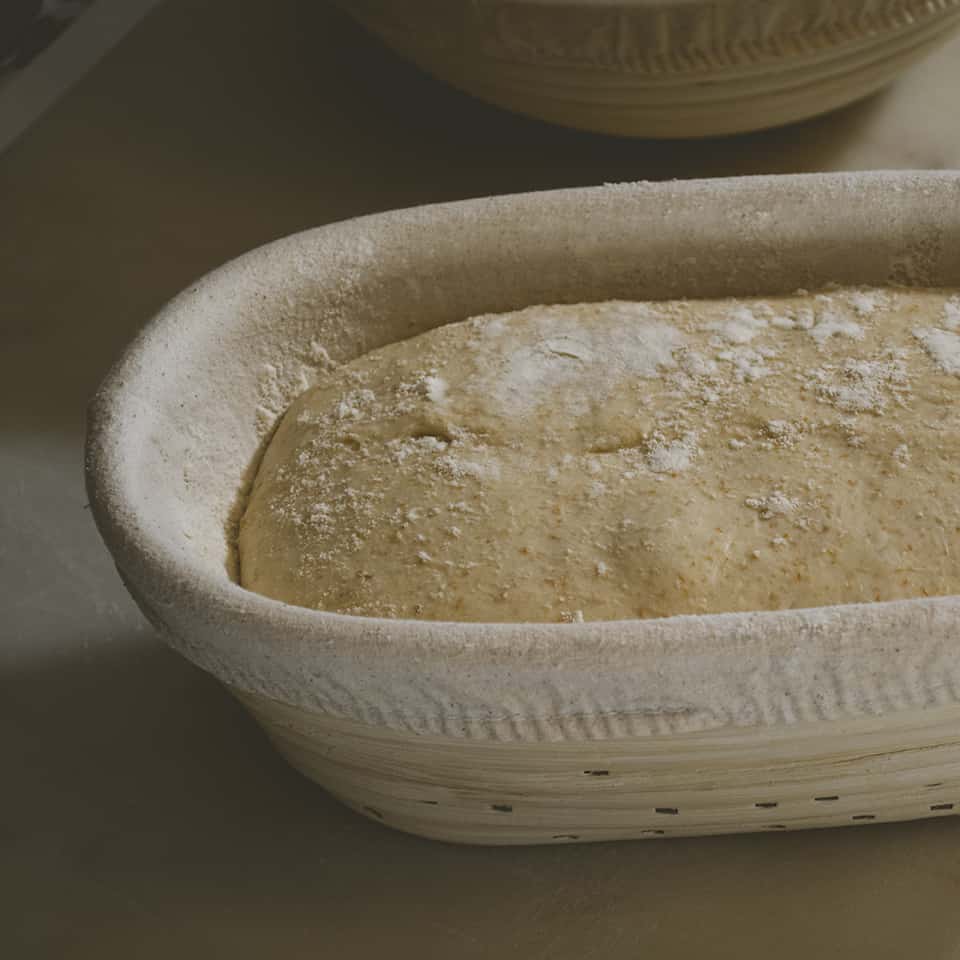
We like this round banneton and this oval banneton for sourdough bread. We’d stress that you don’t need them unless you are working with higher hydration sourdough, at or above 70 percent hydration. However, they are very convenient to have around in general. One of our least favorite parts of making artisan bread was flouring a tea towel. We had issues with sticking, and they were a mess to wash out at times. Essentially, bannetons are more of a luxury than a need unless working with sourdough, but if you are working on sourdough or know you will be working on sourdough in the near future, definitely get one! And, between the two shapes, we love the oval. The round is an easier shape to perform, but the oval usually gives us a better structure for our finished loaf.
Etekcity Kitchen Food Scale, With Removable Bowl
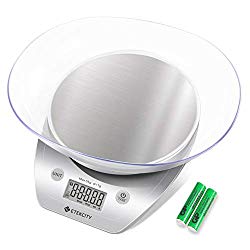
We’ve been totally converted to the idea of using a scale to measure ingredients instead of using measuring cups (even when not making bread). Though not absolutely critical, it does set our minds at ease to know that we’re putting exactly the right amount of flour and water in the recipe. But more important than that, it’s just way easier to measure ingredients by weight. Simple is good! It’s also nice to have a model that can switch back and forth between ounces, grams, and liters since different recipes use different units. Additionally, you want one that has a raised scale so that you can see the weight when using larger mixing bowls. The Eteck checks all those boxes. Our two favorite features about this Etekcity scale are that the auto-shutoff is set at 2 minutes of inactivity and it uses standard batteries. For the auto shut-off feature, some scales are set to just 60 seconds, which seems just a bit short when you’re bouncing in and out of ingredient lists like bread calls for. The last thing you want is to have a scale turn off in the middle of weighing something out just because you walked away to grab some extra flour or needed to warm your water back up. As for the batteries, our last scale used a watch-style button disc battery. I didn’t think about it at the time of purchase, but it proved to be super annoying. The battery didn’t last very long, and we never had an extra on hand. This Eteckcity scale has been going well over a year now with the original batteries. And we use it almost every single day. When they finally do go, I likely will have this kind of spare battery around the house. Good riddance watch batteries!
Cambro 12 qt Container With Lid
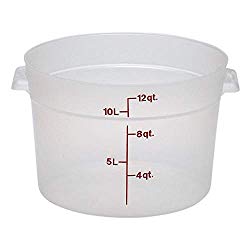
We didn’t start out with this, but we are glad we started using it. This is especially due to the fact that we love making a wet artisan-style dough. If you have mixing bowls or Tupperware, you can probably do everything we do with the Cambro container. But if you start getting more into sourdough loaves and large batch baking in general, you will love these! We have this large, 12-quart one with a lid that we use for poolish loaves and multiple batches of sourdough. For smaller batches, the 5 qt Vollrath from the set above or any decent-sized bowl for that matter will do, but you’ll want to get this big boy when you need something that can bear the burden of larger loads.
We love it because it is big enough to easily bulk ferment 4-6 loaves at a time. This means the 2 to 4 loaves we typically make at a time fit perfectly and cleanly inside. There is literally zero mess with this guy. EVERYTHING stays inside this tub. We also love that it is a lightweight plastic, which makes it easy to transport in and out of our fridge as well as store away in overhead cabinets. It also comes with a lid, which makes it perfect for fermenting without a need for covering with a towel or plastic wrap. Additionally, it is pretty clear, which makes it easy to see the progress of our dough. We even use this to place over the top of our mixing bowl instead of towels when making smaller batches. It’s a simple item, but one of our favorite purchases so far. Just note, for some reason the current thumbnail image on Amazon isn’t the right image. To see the actual tub, you can scroll down and see user review images. It isn’t the hard plastic in that thumbnail, you will get the soft BPA free plastic tub that is in our thumbnail above.
Books
As an added bonus, here are a couple of books that we found to be super helpful when we first started to get into baking.
Flour Water Salt Yeast, by Ken Forkish
For Carrie, and therefore passed on to Chris, this is the book that started it all. Ken’s approach to bread baking is very methodical. He lays out all the instructions in great detail. This was exactly what we wanted when we first started making bread. Although he calls for some supplies that most home bakers aren’t likely to have on hand (like the 12 quart Cambro containers), you can get on just fine with a large mixing bowl.
Bread Science: The Chemistry and Craft of Making Bread, by Emily Buehler
This is another book that we found extremely helpful. As the title implies, Emily teaches not just the “what” of bread making, but the “why”. Understanding more about the science behind bread-making helped take the mystery, and therefore uncertainty, out of the equation. We followed her directions in this book for creating a sourdough starter. Thanks to her detailed, step-by-step instructions, we were successful on our first try. Additionally, our starter is still going strong today thanks to the information we learned in her guide.