
No need to do much introduction here, this is simply a written companion recipe to go along with our video. Let’s dive in.
Ingredients
(Makes 8 Large Bagels)
- 500 grams bread flour – if you can find high gluten flour, even better! If you use high gluten we recommend adding another 10 to 15 grams of water to the recipe. Do not use all-purpose flour.
- 300 grams warm water
- 60 grams honey (20 for the dough and 40 for the boiling water) – if you have malt syrup use that instead.
- 10 grams salt
- 7 grams active dry yeast – if you have instant or rapid-rise that will work just as well.
- 7 grams baking powder (for boiling water)
- Bagel Toppings (amount and kind is up to you)
- Dab of oil
Tools / Supplies
- Large Mixing Bowl
- Sheet Pan
- Large Pot
- Spider or Strainer (for working with boiling the bagels) – if you don’t have either of those we used a spatula and tongs in our video to give you an idea of how you can make it work with typical kitchen items.
- Parchment Paper
- Towel or Plastic Wrap (for covering dough)
Process
(BLOOM)
Step 1 Combine all 300g of warm water with 20g honey and 7g active dry yeast. Stir until yeast is mostly dissolved (30 -60 seconds) and let the yeast bloom for 5-10 minutes. You’ll know when it’s done because the water will have a layer of bubbles and foam on top.
(MIX)
Step 2 In a LARGE bowl, pour all of the liquid from the blooming phase into a mixture of 500g flour and 10g salt.
Step 3 Mix by hand or spatula until everything is mostly incorporated. Don’t worry about a bit of leftover flour here because you’ll dump it all out for kneading, and it will get fully combined there. The non-incorporated flour will function as the flour for your work surface.
Step 4 Dump dough out onto a non-floured surface and knead for 6 min. After 6 minutes form dough into a ball and let rest uncovered for 3 min (it will be very rough at this stage), and then come back to knead again for another 3 min (it should be nice and smooth at this stage). Form into a tight ball. If the top tears as you’re forming the tight ball, then you need to do a bit more kneading. If that is the case, first let it rest a couple of minutes and give it about another minute or so of kneading and everything should come together nicely. We highly recommend watching our video to see how we knead for the best results.
Step 5 Give the mixing bowl a quick wash and dry, then rub a dab of oil in the bottom of the bowl. Place the dough top side up in the bowl and cover with a towel or plastic wrap. If you live in a very dry region and you do not have plastic wrap we suggest putting a damp towel over the bowl.
(FIRST RISE)
Step 6 Leave dough to rise on the counter for 1 to 1.5 hours. You are looking for a doubling in size. It’s hard to judge what double is exactly, so just look for big and puffy. If your kitchen is under 70° F, it might take closer to the 1.5-hour mark. If it’s closer to the mid-70s the hour mark is likely right. Upwards of 80° and you’ll want to start checking at the 45-minute mark. But the dough at this stage is very forgiving. Don’t be overly concerned about nailing the rise time at this stage. Just don’t let it go over 1.5 hours.
(SHAPE)
Step 7 Lightly flour a parchment-lined sheet pan for placing the shaped bagels, and set aside.
Step 8 Degas dough and dump out onto a non-floured surface with the oiled side down. Stretch dough to form a rectangle and divide dough into 8 equal pieces.
Step 9 Working with one piece of dough at a time, roll it out into a snake that is about an inch more than double the length of the width of your hand. Wrap the rolled dough around your hand overlapping the ends of the dough in your palm. Press your palm down on your work surface while rolling forward to glue the two ends together. Avoid rolling back and forth here. The dough will stick together easier if you just roll in one direction. Be sure to watch our video to see this in action.
(SECOND RISE)
Step 10 Place all 8 shaped bagels onto the floured parchment paper and cover with plastic wrap or towel (don’t wrap it tight so the bagels can rise). Leave at room temperature for 45 minutes and then transfer to the fridge for 3-4 hours. If your kitchen is on the warm side (above 70° F), consider leaving it on the counter for just 15-30 minutes. If your fridge also runs on the warm side (about 40° F), stay closer to the 15-minute mark. ***At the end of this post we have directions for making this an overnight second rise. It actually has some advantages if you don’t mind waiting overnight to eat some bagels. We actually split the recipe and do both. We’ll explain later.
(BOIL)
Step 11a After 3-4 hours in the fridge, if the bagels look puffy, pull one out and test to see if it will float in a bowl of cold water. If it doesn’t float then your bagels need more time to rise (or sadly they over-proofed and deflated). If it floats, you’re good to move on to boiling. Simply place the dough back in the fridge until you are ready to boil.
Step 11b Bring a little more than half a large pot of water to a boil. Stir in 40g honey (or malt syrup if you can find it, we can’t usually) and 7g baking powder.
Step 12 Reduce your boiling heat so that it is not a harsh boil. Pull bagels out of the fridge, uncover, and boil bagels for 30-60 seconds per side (fit as many in your pan as you can without overcrowding the bagels). When bagels are done boiling pull them out of the water using your spatula and tongs or strainer, placing them back on the parchment-lined baking sheet. This step will need to be done in batches.
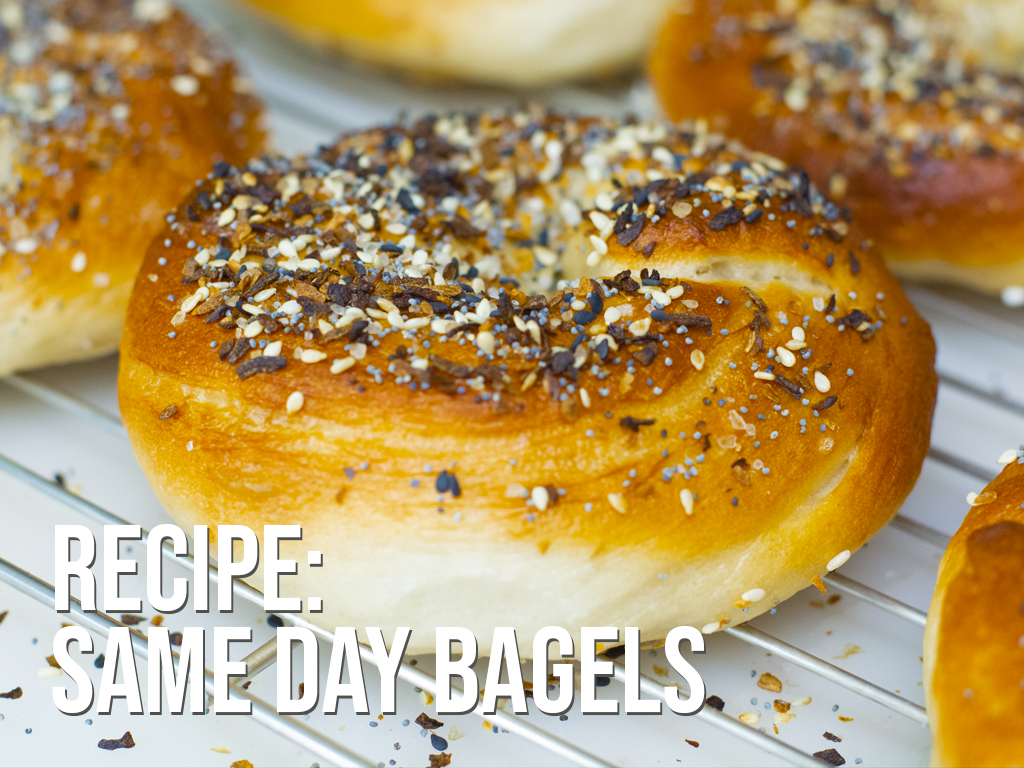
Step 13 Add toppings to your boiled bagels as soon as they come out of the water. They will be sticky and wet, ensuring toppings stick.
(BAKE)
Step 14 Bake bagels at 450° F on the center rack for 15 to 18 minutes. If your oven runs hot, drop the temp to 425° F. Let cool on a rack for a few minutes and enjoy! But not too long. These things are best when fresh!
*** For a more chewy texture and better flavor you can skip the 45 min second rise portion of this recipe and place the shaped bagels right in the fridge for up to 18 hours. The bonus here is that you’ll have bagels ready to boil and bake for breakfast if you time this right! We like to actually split this recipe up when we make it. To do that we let half rise with the counter rise plus fridge method to have some ready for lunch or dinner, but put the other half right into the fridge and boil and bake those the next morning for breakfast. Yes, it’s a bit fussy, but I really love fresh-baked bagels.
TIPS / NOTES
FLOUR AND HYDRATION – All flour and environments are different. If you notice this recipe is making a dough that is too dry then simply add 10-15 grams of water and see if it comes together better. If not, add another 10 grams and see how that goes. This recipe is set at 60 percent hydration, adding up to another 10-25 grams of water would push the recipe up to 65 percent hydration which should be more than enough to incorporate everything together. If it doesn’t pull together something likely went wrong during measuring or the flour type is very thirsty. Avoid using whole grains for this recipe for that purpose.
How do you know if it’s wet enough? The dough should be tacky when you’re kneading but not sticky. This means it should have a little cling to your hands but the dough shouldn’t pull off and stay on your hands and fingers. If it’s not tacky at all and crumbles when you knead, it needs more water.
HONEY VS MALT SYRUP – Traditional bagels, especially the New York variety that are the trademark bagels in the U.S. have malt syrup in the dough and in the boiling water mixture. It helps with browning and adds a tangy sweetness that gets you to that New York vibe. If you’re after a New York bagel, you likely want the malt syrup. We can’t find it easily and are perfectly pleased with the browning and flavor we get with honey and a bit of baking powder.
TEMPERATURE AND BROWNING – You know your oven more than we do. 450° F at 15 minutes gives us the best browning and crisp crust we like. But if you know your oven runs hot or if you think you’d like lighter bagels, knock the temperature down to 425° F for 18 to 20 minutes. Do check how things are doing after 10 minutes. You won’t ruin the bagels by opening the door of your oven to peek in at the 10-minute mark. Just check for color, and decide if 5 more minutes is enough or if it needs 8-10 more minutes.
BOILING TIMES – Do not stress over the boiling times. Shoot for somewhere between 30-60 seconds per side per bagel but you can go up to 2-3 minutes. The longer the boil the chewier the crust will be. As you’re dropping bagels in and pulling bagels out, some will certainly go longer than 30-60 seconds and that’s perfectly fine. You don’t have to be able to freeze time to pull this off. 🙂