
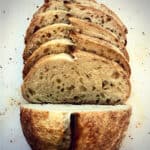
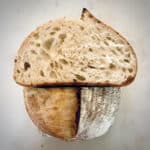
Here is our method for creating a flavorful loaf of bread, with just enough sour notes to be a crowd-pleaser. It has a nice airy crumb that is open enough to be light and fluffy without giant holes. Nothing against those Instagram beauty’s, we’ve pursued those ourselves, but we find they work better for pictures than butter and jelly. 🙂

Anyhow, let’s just dive in…
*This makes two loaves, which is perfect for our family size. You can easily split the ingredients in half, and nothing about the process changes.
Ingredients
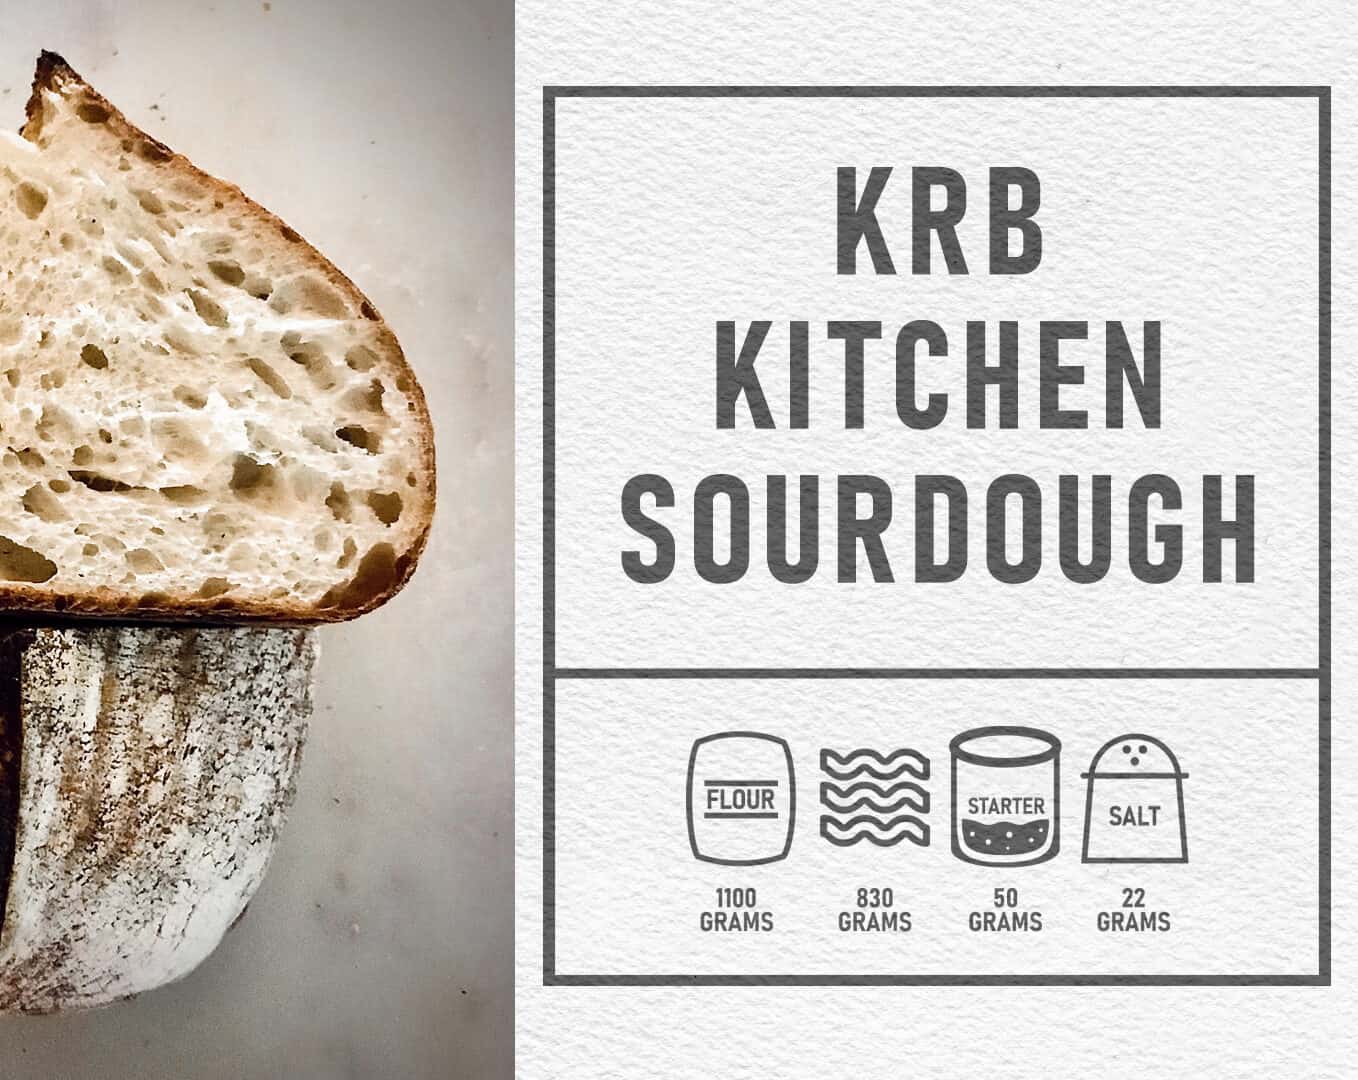
- 250 grams ripe levain/starter – for us that means we feed our starter 4-8 hours before we are ready to mix our dough with 50 grams starter 100 grams flour and 100 grams water, use warm water if your kitchen stays on the cool side. Wait for it to at least double in size, and become nice and bubbly. A safe bet is 6 hours minimum.
- 730 grams of water, use warm water if your kitchen is on the cool side.
- 1000 grams unbleached bread flour (AP Will Work As Well) – If you would like to use a little wholewheat, you can substitute some of the bread flour or AP with whole wheat. Up to 200 grams is okay before needing to adjust water levels. We’d suggest starting with 100 grams and testing how yours turns out. That would look like this: 900 grams bread or AP flour & 100 grams whole wheat.
- 22 grams of salt
Tools
- Mixing Bowl
- Proofing Basket (Or a tea towel and mixing bowl)
- Dutch Oven
- Bench Scraper / Dough Scraper (This is highly recommended for best chances at a good rise)
- Bread Lame or Sharp Knife (To score dough)
Process
*Before starting, feed your starter or create a levain by mixing 50 grams starter, 100 grams water or warm if in a cold kitchen, around 90°F, and 100 grams flour. Let ferment for around 6 hours.
(MIXING PHASE)
Step 1 Mix all flour and salt together in a mixing bowl.
Step 2 In a separate LARGE bowl, break up/dissolve the starter into all of the water.
Step 3 Combine contents from step 1 into the large bowl containing the contents from step 2. Mix until fully incorporated. Always try to add dry ingredients into the wet ingredients. It helps avoid clumping. LEAVE IN BOWL, COVER DOUGH (with lid, plastic wrap, or towel), AND REST FOR 30 MINUTES
30 minutes later
(BULK FERMENTATION PHASE)
Step 4 Fold the dough by cupping a side of the dough, pulling, and stretching several inches up and over and releasing. Rotate a quarter turn and repeat about 4 times. Cover the bowl, and leave at room temp for 30 minutes. Our video above shows each step if you need to see what this looks like.
30 minutes later
Step 5 Repeat Step 4
30 minutes later
Step 6 Repeat Step 4 but then you will let it rest for 3.5 hours at room temp (if your room is pushing 80 degrees it will take less time, if it is under 70 degrees it will take more time, just look for close to a doubling in size and some bubbles). For us it has been 3 to 3.5 hours like clockwork over the winter months where our kitchen is staying around 72 degrees. Because this will be undergoing a long fridge proof, you do not need to stress about this stage as much.
(SHAPING PHASE)
Step 7 Dump dough out onto a non-floured smooth surface, but if you do not have a bench scraper, use flour on the work surface. Using your bench scraper (or knife, spatula, etc) split into two halves. Do a preshape and let the two halves of dough rest 10-15 minutes (if it is cold in your room, you might let this go upwards of 30 minutes to make shaping easier). You can see us shape in the video above, or, for a slower example here is our video of a preshape: https://www.youtube.com/watch?v=qRMWyzthQX8
10-15 minutes later
Step 8 Flour your proofing baskets liberally or place your tea towels in your mixing bowl and flour liberally. You can always dust off the flour before putting the dough into the oven. The real sure way to ruin this loaf is to have it stick to your bowl or towel. You will get a puck, sadly. Next, Shape one of your halves into a tight ball or into a loaf shape (see both in the video above). Flour the top of the dough and place the floured side down in your bowl. Do the other half, in the same way and let sit out on the counter for 1 hour covered with a towel or plastic wrap, then put bowls in the fridge uncovered for 10-24 hours (this is the PROOFING PHASE). You can let this go for up to 48 hours, but we find 36 hours is the cut off point for us, when we start to see diminishing returns. But if you have to wait to bake your second loaf, you can go up to 48 hours. We most often bake between the 12 to 24 hour range.
12-24 hours later
Step 9 Preheat oven with Dutch Oven inside to 475°F, you want the tray or dutch oven to be REALLY hot for good oven spring (In our video we state 450°F, but we have been using 475°F with better results, both work well!).
Once oven is up to temp
Step 10 Pull dough out of the fridge, and working quickly but gently dump dough onto a lightly floured cutting board. Dust off the excess flour from the top of the loaf, score the top with a simple X for the round shape, or a simple line down the middle for the loaf shape. Scoop your dough up and transport directly into your dutch oven. You do not need parchment paper, but can use it if you prefer to transport your dough using the parchment. Place the lid on your dutch oven and bake for 30 minutes. Remove lid after 30 minutes and bake for another 8 to 20 minutes. Your color preference here. All ovens are different, simply check it for color. *At times things go awry, sadly. If your bread didn’t rise much, you’ll need to let it go closer to the 20-minute mark to avoid having the center be gummy.
Step 11 Remove bread and let cool for at least an hour. We prefer 2-3 hours for the best crumb. It likely will be gummy if you cut into it right away. This is especially true if the finished loaf was a bit flat.