
In the early days of our baking habit, I mean hobby, I remember being concerned with underbaked bread. For good reason, as we often had one loaf bake perfectly while another at the same temp and time would come out underbaked.
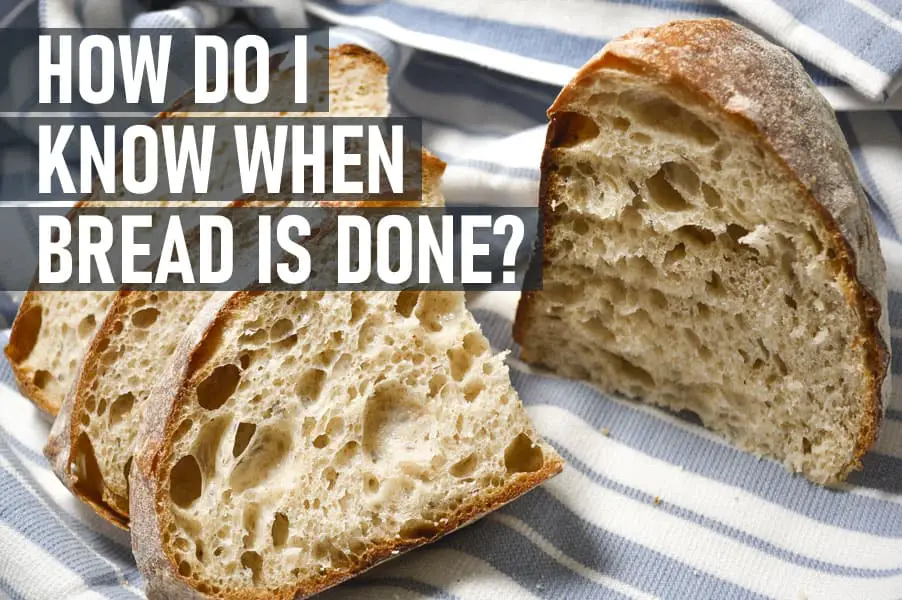
Thankfully, there are a few simple ways to know when bread dough is done baking, without much guessing involved. So how do you know when bread is done baking?
For soft enriched bread varieties, internal temperatures of 190° F combined with golden-brown crust is the standard most bakers use to know when bread is done baking. If using egg, internal temperatures should reach 200° F. For rustic loaves and whole grain varieties of bread, internal temperatures of 210° F with dark golden-brown crust is the standard.
However, there are some caveats that should be addressed here, and some things to keep in mind to be sure a loaf of bread is done.
Hydration Levels Matter
When it comes to bread and their internal temperatures, the amount of water in them can give a false high reading. This is why it is important to use visual cues as a gauge as well.
For high hydration bread, depending on the shape and rise, their internal temperature can rise to 190-210° F fairly quickly during the baking process.
Looking for a nice deep golden brown crust alongside the right internal temperature is important to avoid pulling out bread before it is done.
Our first gauge is always color. We actually rarely check the temperature these days, but when we do we don’t check until we see golden to dark golden brown crusts.
If you’re not too sure what hydration levels mean, we have a post about baking percentages that will clear this up for you. Check it out here.
Ingredients Matter
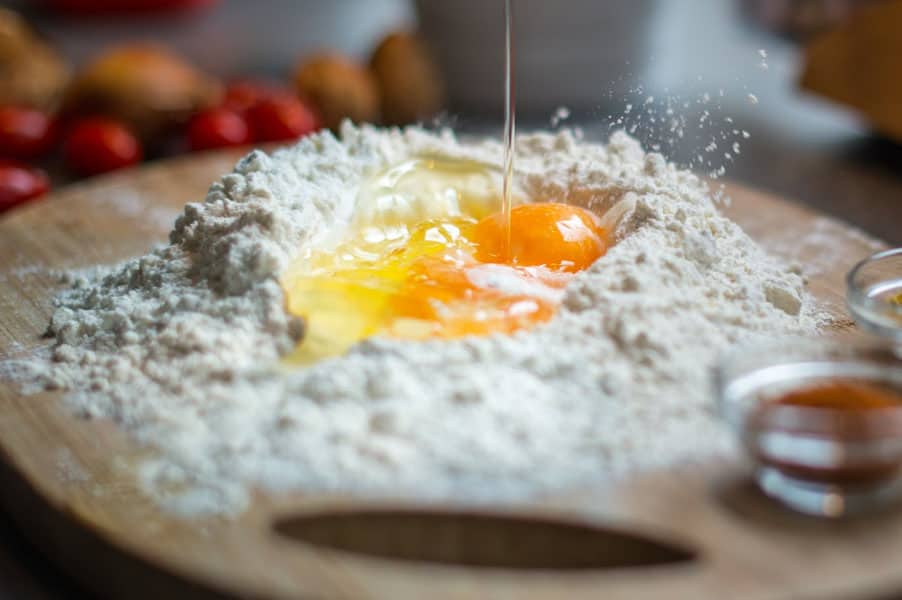
Bread that has ingredients that melt added in, like chocolate chips or berries, could also give a false done reading based on temperature. Especially if your thermometer happens to be positioned in a large blob of the melted ingredient.
Additionally, if you altered a recipe without lowering hydration levels to compensate for the added moisture from such ingredients, there might be a need for longer baking to allow the additional moisture to steam out. If too much moisture is present, it might lead to a less than desirable loaf even though it is technically done baking. One that seems underbaked, but is actually a result of too much moisture.
If the moisture content is kept in check, watching for color and temp is ideal for this type of bread as well.
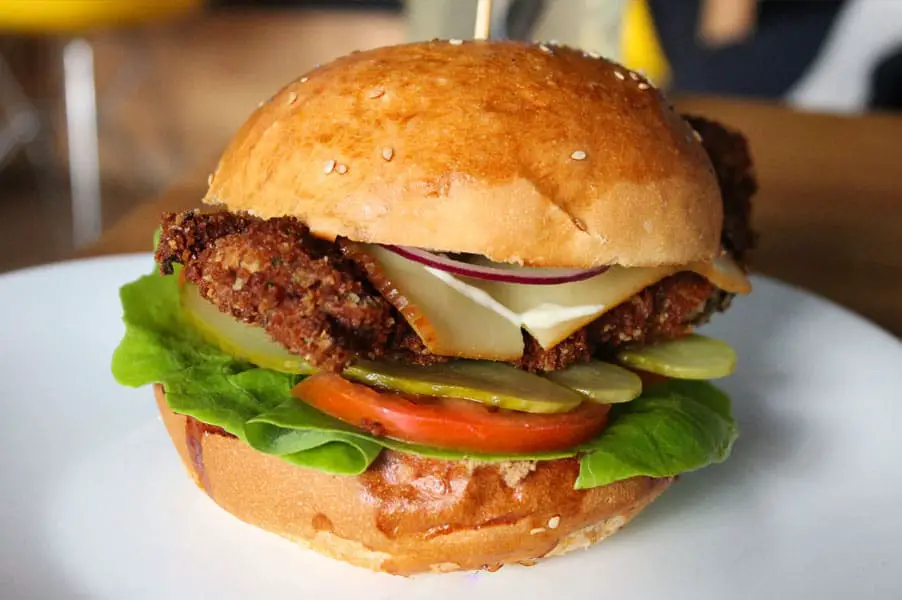
Additionally, keep an eye on the type of ingredients used, especially ingredients like eggs. Be sure the internal temperature reaches the appropriate level to fully cook raw ingredients. Bread prepared with egg should hit 200°F.
Rise Matters
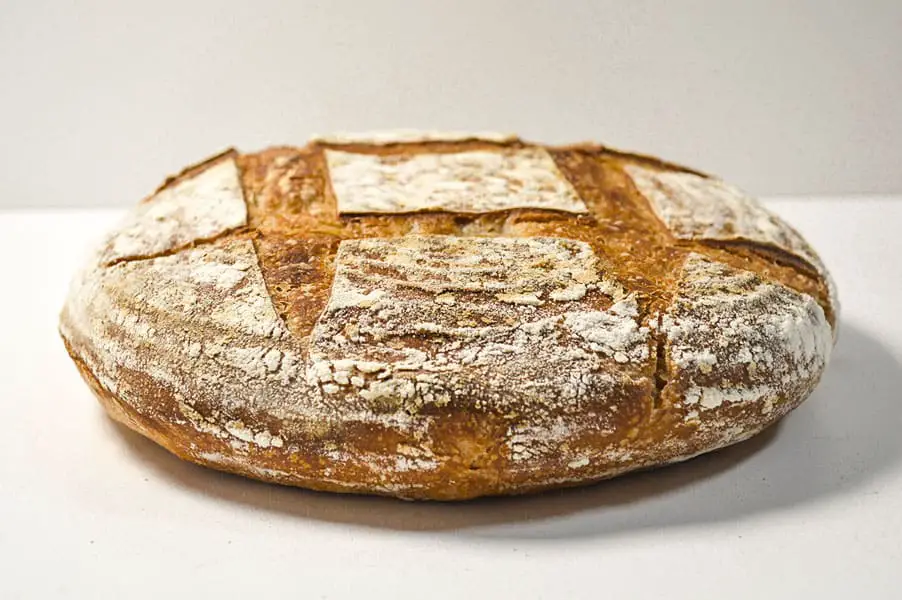
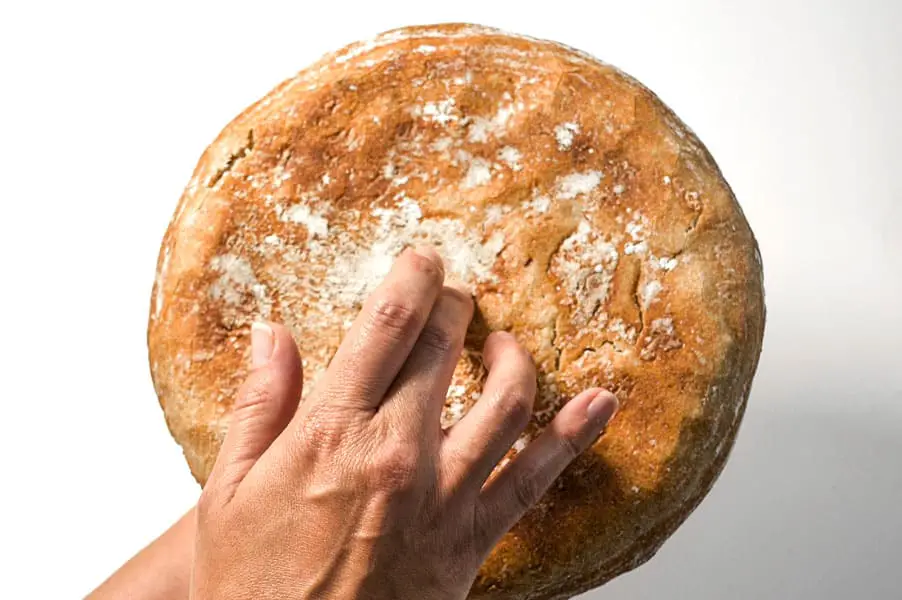
In the early days, many of the loaves that we thought were under-baked breads were actually just poorly risen. Like the bread above (result of over proofing).
When dough hasn’t been given enough time to develop gluten (or too much time so that gluten fibers begin to deteriorate) the structure dough needs to spring up in the oven isn’t there.
Additionally, it adds to poor shaping which caused many of our problems.
We’re primarily talking about little tension from shaping, and not the actual shaping technique or folding pattern. We’ve used many different styles of shaping and found the biggest impact on our bread comes down to how much tension we get during the final shape.
Gluten development takes time, and it is needed to get a nice tight ball or loaf shape. Without it, dough will just flatten out unless it has support. Too much time though can be bad depending on the temperature of your environment. This has to do with yeast’s activity going up in warm temps. Gluten can tear and deteriorate if it expands too much or too quickly, which results in dough that falls apart instead of holding tension. It’s nearly impossible to build tension at this stage.
That is actually what happened in our test loaf pictured above. It is the quentesential over proofed bread 🙁
They still taste great with honey or butter, though!
When we’re able to get enough tension so that our dough does not flatten out during proofing, a quality rise happens every single time. Well, the caveat being we did not under-proof or over-proof.
Even decent tension can end up flat if it is over proofed to the point of degassing. Under proofing can result in little rise even with good tension due to the lack of expansion to start with.
In my experience though, the major problem with over or under proofed dough, is that it is incredibly hard if not impossible to get a decent amount of tension for a good rise. If you can get good tension during shaping, you’re likely going to end up with a fairly good rise.
All that to say, if your bread doesn’t rise in the oven, for whatever reason, it will almost certainly come out with a gummy crumb (center) unless you give it plenty of time to bake.
If you notice that your loaf is really flat after you’ve made it through your recipe’s suggested bake time, you might be better off to lower the temperature by about 25-50° F and/or cover with foil and let it bake for 10-30 minutes longer than the recipe calls for.
Keep an eye on it so you do not burn it (why we suggest turning the temp down), but it will be hard to really bake the center of the bread if it is overly flat.
I even do this if I notice we got a loaf that has a decent rise but a little flatter than we are used to. Letting it go for a few minutes longer than normal is a safe way to ensure it isn’t gummier than we like. Again, though, I keep an eye out to keep it from burning.
And while we’re on that, keep a nose out for burning. After a while, you’ll get a nose for when your crust is getting a little too dark. You can always take a quick peek inside to see how it is looking as well. As long as you’re not in and out of it a dozen times while baking, it’s fine.
Are There Other Ways to Tell When Bread is Done?
One more commonly used method is what is called the tap test. It basically involves tapping on the bottom of a loaf of bread. A finished loaf of bread will sound hollow.
We’ve suggested people use the tap test before, and we regularly tap the bottom of our bread listening for that hollow thud but we don’t suggest it anymore.
It’s kind of like picking a good melon. Only problem is, I have an ear for done bread but not ripe melons. I always pick a horrible watermelon. I just can’t tell the difference between a good one or a bad one.
I was even chastised once by a cashier at our local grocery store after he tapped the melon I picked. He shook his head and ran off to grab me another one. He tried to explain the sound to me, but I don’t eat enough melon to train my ear.
I wanted to be upset about the chastisement, but it was the best watermelon I’d ever eaten. 🙂
I say that to share that it takes time to know what “done” sounds like with bread. Not quite done bread sounds hollow too. Many people have a hard time distinguishing between half baked bread and done by the tap test without a great deal of baking under their belts.
Aim for your recipe’s time, check for the right temperature, and look for golden crusts on enriched doughs or dark golden crusts on lean doughs. You’ll be set keeping those in mind.
Not too sure what enriched doughs and lean doughs are? We walk you through them here (enriched) and here (lean).
Let it Cool
One last note, if you’re not letting your larger loaves of bread cool, especially higher hydration bread, it’s not going to be done steaming inside. The center needs to cool to allow the crumb to dry off. About an hour to two hours is ideal.
This was part of our problem in the early days as well, we just couldn’t wait to see the crumb and compare how we did to our last bake. I also had butter on hand and honestly wanted bread in my belly. We honestly still from time to time cut in too soon. 🙂
But, it will ensure a gummier loaf of bread, which would basically mean it is not done. This is true if you nailed every part of the bake time.
In a way, bread is kind of like meat, which has a suggested internal temperature reading needed to be done. But meat also needs a 10-15 minute rest period before cutting into it. If meat is cut too soon after cooking, all of the juices will pour out resulting in a dry and tough piece of meat. Instead, waiting allows for juices to be reabsorbed in the meat resulting in a better piece of meat.
Bread needs to steam inside, pushing moisture from the center out. It results in an evenly tender and moist loaf from the center out to the crust.
If you’re working with a potato roll, for example, waiting isn’t as big of a deal. The smaller size cools faster and steams off more efficiently. Additionally, rolls are lower hydration recipes in general which require less time to completely steam off after baking.