Knowing when bread dough has risen enough can be a bit of an art that comes with time, but there are certainly some simple methods you can try which will make you more confident in your skills.
You can scroll down to see those methods, but generally speaking bread dough is often done with its first rise when the dough has doubled in size. After this first rise, the dough is typically punched down, shaped, and then given another rise commonly referred to as the proof or final rise. This final rise is also said to be done when it is nearing double its size as well. Just note, it might not completely double in size at this stage. However, the best standard of knowing when dough has risen enough during the final rise is what is known as ripe testing. Dough will be done if, after gently poking it, you observe that it holds the shape of the indentation with about half filling back in.
Waiting until the dough has doubled in size for both rising stages will produce a quality loaf of bread. We’ve made many a loaf using this method. But we have grown to appreciate the ripe test for its ease and consistency. This is especially true for the second rise. It is so easy to do and ensures the dough is proofed enough to move on to the bake without becoming over-proofed. After all, if you’re going to spend hours babying this special little snowflake, why not make sure it has the chance to achieve the glorious success every good little dough deserves. In all seriousness though, we like the assurance that the ripe test gives us, and we think you will too.
The Ripe Test (First Rise)

As stated above, a hard and fast rule of the dough doubling in size is standard, and is certainly adequate here. Most recipes and bakers don’t even mention a test at this stage outside of looking at the size. And to be honest, we never do this test. That being said, it has just a couple of simple steps:
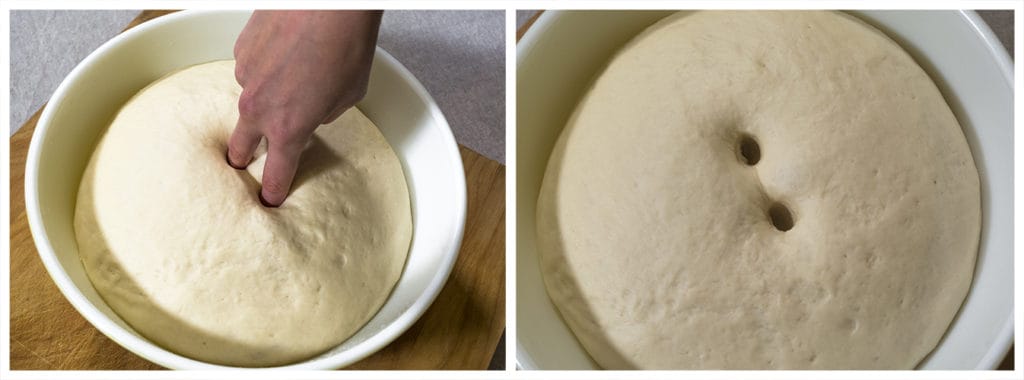
- Take two fingers lightly floured, namely your index and middle fingers, forming the universal peace sign. Slowly insert those two fingers, in the middle of the dough, up to the second knuckle. Then remove your fingers.
- Observe how the dough reacts to the indentations. If the indentations keep their form after a few minutes, with just a little refilling, then your dough is done rising. If the dough doesn’t keep the form well, and starts to close the holes after a few minutes the dough can probably go longer. If it deflates, it went went too long.
That’s it, just two simple steps. Note that over-proofing isn’t as much a concern at this phase. We just don’t want it to go too long as the yeast can eventually run out of food, which creates a poor second rise. If you do fear it went too long, just punch it down, shape, and let it go through the final rise. Make a mental note of how it turns out after your bake and know you’ll be armed with more information for the next loaf. Oh, and don’t beat yourself up about it. Throw some butter or honey on there and enjoy your homemade bread! Nobody puts bread in a corner!
The Ripe Test (Final Rise)
The final rise test is similar to the first, but we need to be less invasive with the dough since we will not be able to reshape it at this point. Nonetheless, we’re looking for similar results as before. This is the stage in which you’ll definitely want to employ this ripe testing method, as the bread is now less forgiving.
Here are the basic two steps of the final rise ripe test:
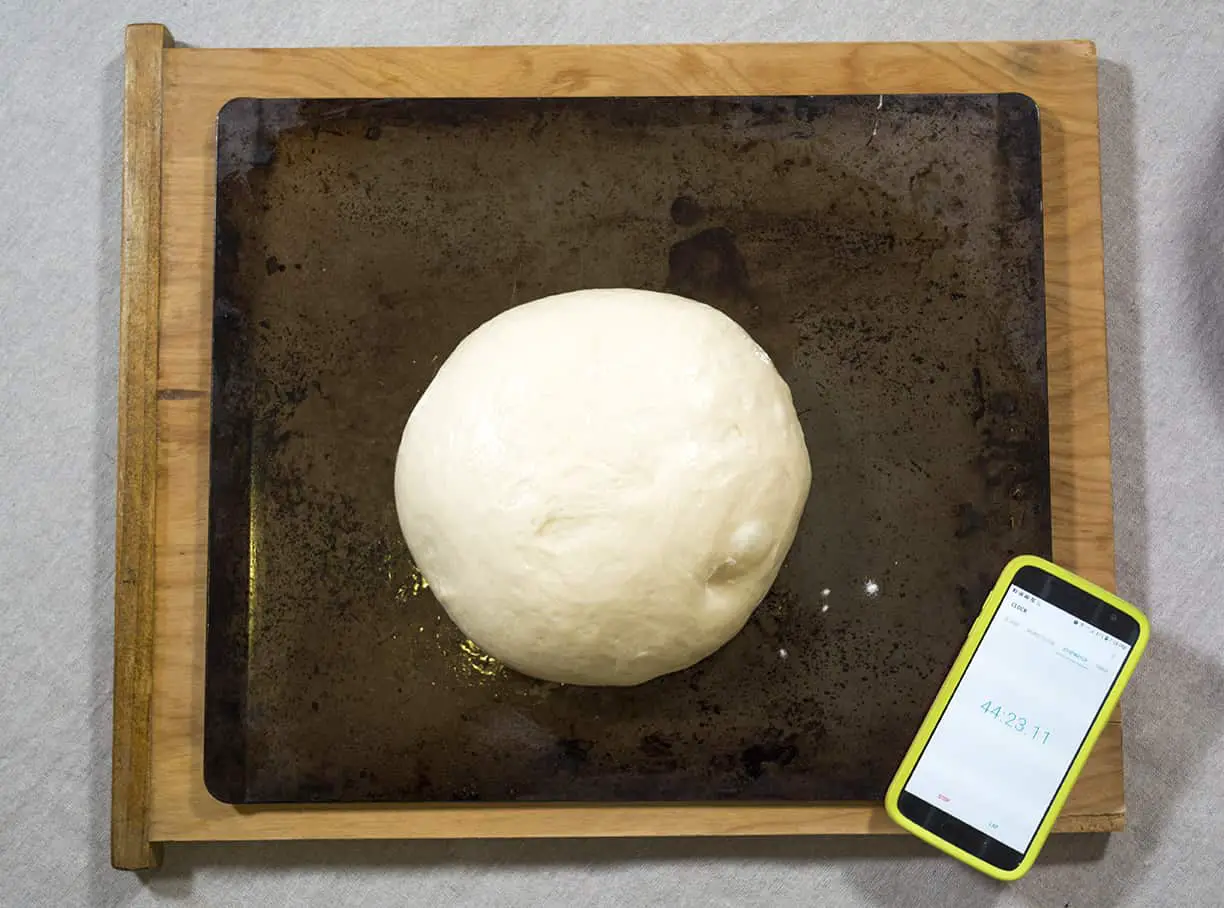
- Gently press in on the side of your loaf with any finger that has been lightly floured. Note that it is not as deep of a poke as the first rise ripe test, but still enough to get a good indentation. Roughly half an inch deep, or the first knuckle of your pointer finger is a good depth.
- Observe how the dough responds, expecting the indentation to fill in about partially and hold its form. If it does hold its form, the dough is done rising and ready to bake. If the dough doesn’t refill at all, it has over-proofed. Conversely, if it bounces back quickly and refills completely, it is under and you’ll need to let it keep rising.
If you do end up over-proofing, you can bake it and hope for the best (which will likely be tasty with butter) or even better, punch it down and reshape it for a third rise. It will likely take a bit longer to rise, and might not grow as large this time around, but in most situations it will turn out just as well.
You could also just throw some oil on it, flatten it out with your fingertips, and turn it into a “faux-caccia”? Needless to say, it isn’t completely ruined. You’ll still get bread! Yum!
That’s it! Simple! Try it out, and let us know how it goes!
Related Questions
What should I do if I let my dough rise too much?
As I briefly touched on above, if you’re in the first rise it likely isn’t a major concern. Just make sure you don’t over-proof the second rise after going too far with the first rise, as you’re likely going to end up with a pretty small loaf if you need to do a third rise. The yeast is just running out of food to keep going. However, if the dough is over proofed for the second rise, simply punch it down and fold, then reshape and allow it to rise for a third time. You’ll end up with a smaller loaf, but not too much smaller. You also have options to change the plan. If I need a third rise, I’d try to improvise a focaccia or similar flatbread.
How long does it take to overproof dough?
This depends on a lot of factors, such as the conditions of the environment you’re in, the yeast or starter, humidity, etc. Generally speaking, the warmer the environment the quicker it will happen. This is due to the fact that yeast is more active as it warms up. We find that when we proof a single loaf of bread at around 75 degrees, it only takes about 45 minutes to an hour to double in size when using active dry yeast. At room temperature (75-80 degrees), it is safe to check in at 30 minutes to see how it is going. If it has already risen quite a bit, but not doubled, check back in every 15 minutes to avoid over proofing. If it hasn’t done much, come back in 30 minutes to check on the progress.

