
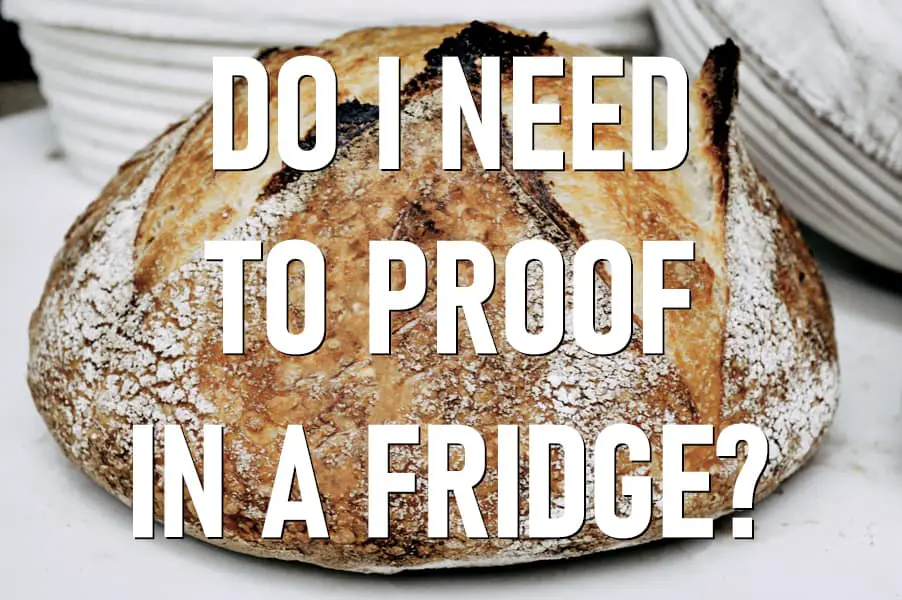
I think we hear this question so often because we recommend doing the final rise (proof) in the fridge for most of our sourdough recipes. Or maybe, it’s just recommended by so many bakers that it can start to feel like you have to proof sourdough in the fridge.
Even though proofing in a fridge is often suggested, sourdough does not need to proof in cool temperatures. Bakers often prefer using a fridge or cool environment for proofing because it improves many qualities of sourdough, especially flavor. However, proofing in warmer temperatures will produce a quality loaf of bread.
The primary reason for proofing at warmer temperatures is to save time. When needing sourdough in a hurry, everything should be done warm. For example, you’d want to use warm water to ensure that you have a warm dough to start with. Then, you’d do what you could to keep your room temp or proofing box upwards of 80° F. For even faster times, you might go upwards of 90° F. Once you go above there though, you’ll likely run into some negative results with poor gluten development which will result in some pretty flat sourdough.
Even if you do it well, there will be some significant trade-offs when proofing warm vs cold, so let’s address them here to get you your best loaf of bread at warm proofing temps.
Warm Dough is Harder to Work With
Dough that is proofed at a warm temperature is harder to handle than cold dough. This mainly comes down to how stiff the dough is, but that simple change in stiffness plays out in 3 important ways.
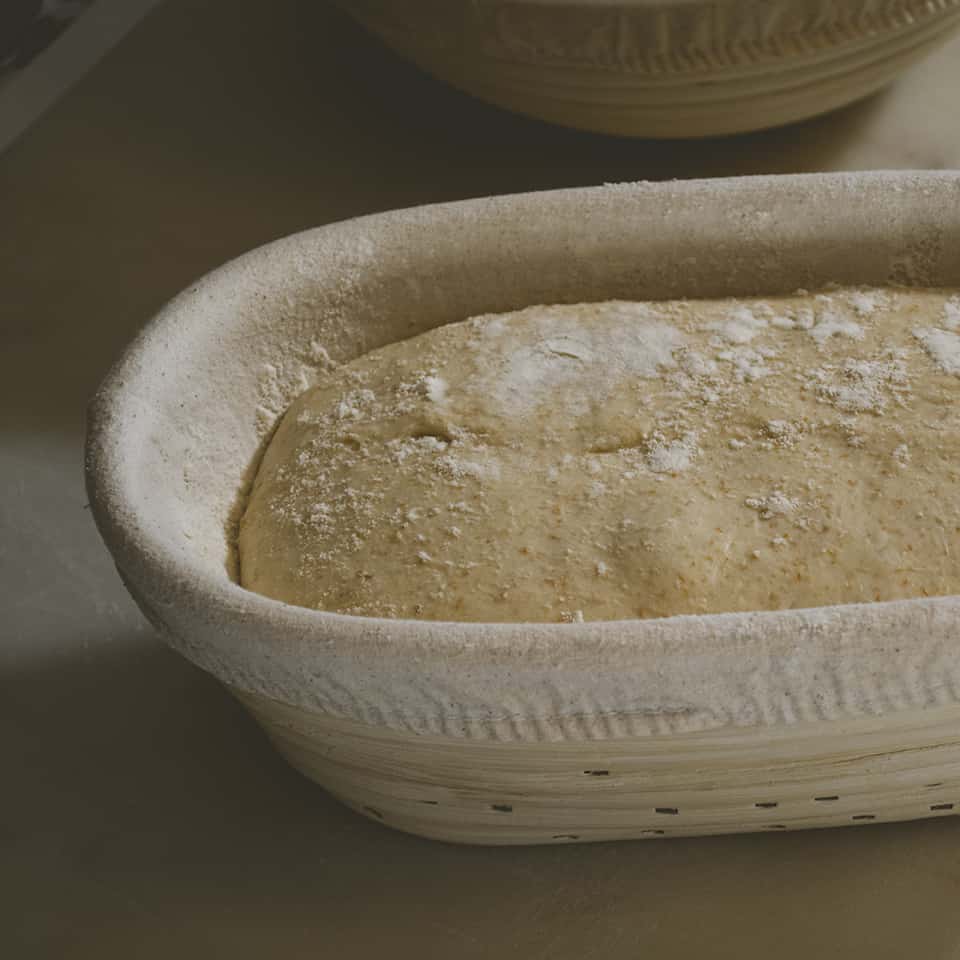
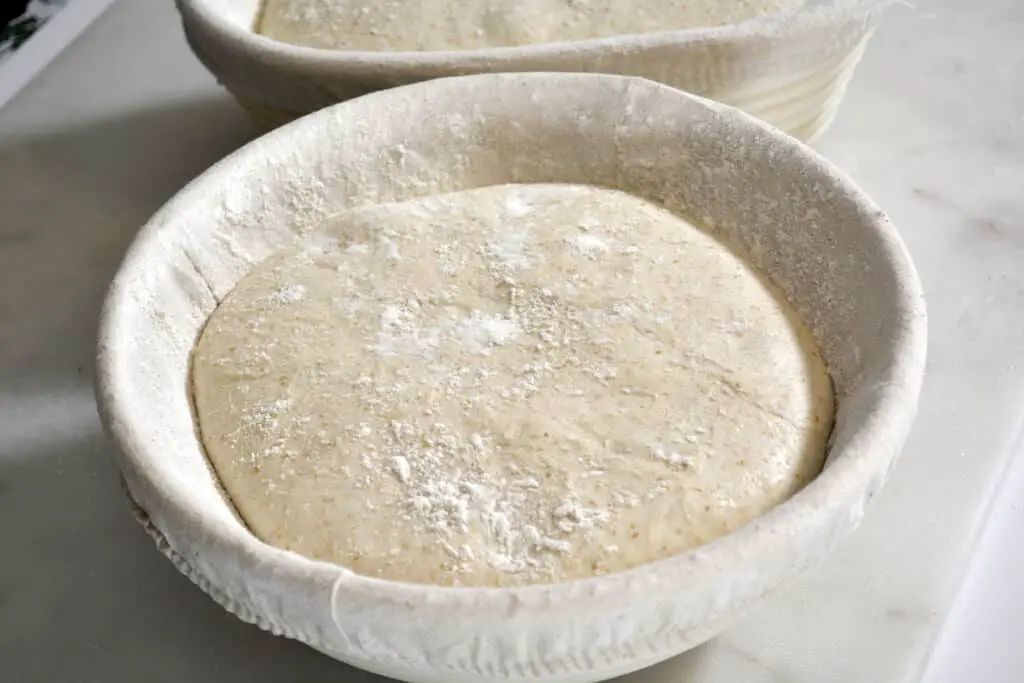
- Resisting Gravity: Once you dump out dough from a proofing basket, it will begin to flatten out. This has a good bit to do with how well you shape dough, but, when shaping is accounted for cold stiff dough resists being pulled flat by gravity longer than warm dough. This means you have less time to score and transport your dough before it goes flat with warm dough. So you’ll need to work quickly.
- Scoring Dough: Cold stiff dough is far easier to score than warm dough. With warm dough, it tends to be a bit more puffy and sticky than it’s cold counterpart. This means your lame (rhymes with mom) or knife will be more likely to snag and pull on warm dough. With cold dough, scoring is a far smoother process.
To help with scoring, try to use a wet blade or razor. We’ve found good success with this method. - Transporting Dough: Each time you have to handle proofed dough it’s going to get pushed or pulled out of shape a bit. Each stretch and pull causes gas to escape. Not good. With warm dough being floppy it loses its shape fairly quickly. It also makes dumping it out of a banneton and transporting to an oven more challenging than cold dough. Cold dough is stiff enough to hold its shape if handle gently. Even with multiple touches and a little less than perfect hands, cold dough fares well.
With warm dough, be sure to be steady with your hands and limit the number of times you have to move it/touch it.
Warm Dough is Often Less Developed
This might seem odd, as warm dough tends to work faster and produce a big or exaggerated rise during proofing. One might think that this means there is more development happening inside the dough. And that would be true, but only for a portion of the processes taking place during proofing.
The extra activity in dough has to do with yeast’s energy in relation to temperature. Yeast is much more active or energetic in a warm environment.
The major disadvantage in this approach is how little gluten develops at warm temperatures. This doesn’t have to do with how quickly it develops at certain temperatures though. Gluten just takes a long time to develop at any temperature. For gluten to become strong enough to support the rise of a baked loaf of bread, it needs to keep up with yeast’s ability to raise dough.
By speeding up the process of yeast’s activity, gluten isn’t given enough time to fully strengthen before it expands significantly. This could, depending on your method, result in a flat bread or misshaped loaf.
When working with a recipe that will be completed from start to finish in warm temps, methods to accelerate gluten development are often needed. Here’s what they often involve.
- Starting With Bread Flour: Bread flour is often called high gluten or strong flour. It just means that it has a higher content of protein in it (which turns into gluten when combined with water). Protein will typically fall in the 11-14 percent range for those flours. The sweet spot tends to be 12-13 percent gluten for sourdough. Gluten will grow and strengthen from the protein as it absorbs water. Starting with higher protein levels will give better results. All-purpose will work as well, but tends to fare better with longer proofing times. If we are making a “quick” sourdough (still takes about 6 hours) we always use bread flour.
- Autolyse: An autolyse is a french method in bread making where flour and water are mixed together to rest before adding leaven (yeast/starter) and salt. This gives protein a bit of a headstart at turning into gluten before leaven is added. Salt isn’t added, as science suggests the gluten process will be better. Though there is a huge debate about this in the bread world.
30 minutes is usually enough for most basic varieties of flour. Whole grains and coarsely milled flour benefits from longer autolyse times, but they also benefit from longer proofing. So you’ll likely stay away from them here. - Knead: Sourdough is often not kneaded, instead it is stretched and folded over an extended period of time. But if you will be making a quick version, kneading could help give your gluten more of a head start.
- Extra Folding: If going quickly, it might help to fold dough more frequently, around every 15 minutes instead of the typical 30 minutes longer recipes call for. This will continue giving gluten the added punch it needs to finish the job and keep up with yeast. Yeast is a beast when it gets warm, and gluten needs to be given a fighting chance to keep up. It’s kind of like the four-year-old who wants to challenge his dad to a foot race. That little kiddo is going to need a little headstart. And depending on how much bread dad eats, maybe dad’s gonna need the headstart. 🙂
Warm Dough Proofs Faster Than Flavor Develops
If you’re a fan of sourdough because of the tangy flavor notes that come with it, you might likely want more of that flavor. And if that is the case, then you will need more time.
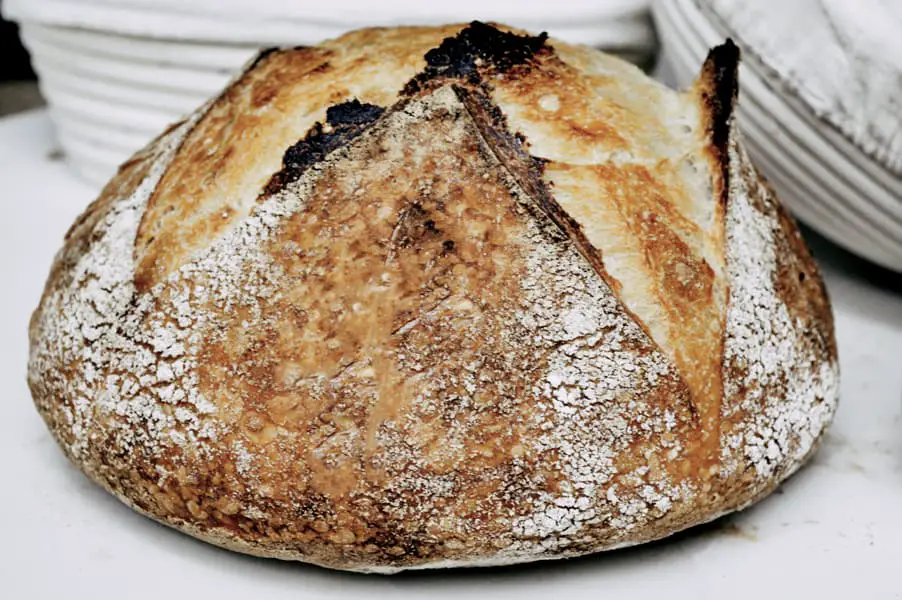
The long cold proof produces much more flavor than a warm proof will. This doesn’t mean warm dough tastes like cardboard. It will be delicious, no worries there. It really comes down to what you are wanting.
A quick warm proofed dough will absolutely without a doubt be a crowd favorite. If you bring it to parties, you’ll soon get messages telling you not to come if you don’t bring bread. Trust us, that’s for real.
But, you might wish to add extra starter to your batch to increase the sour notes and add extra flavor profiles. Be careful though, too much starter can cause the bread crumb to be a bit spongy.
We’re really kind of splitting hairs on this flavor one here, you should feel absolutely confident in being able to produce a quality loaf of sourdough bread without using the fridge to proof.
Related question
If I Want to go Cold, How Long Should I Let it go?
We find that the sweet spot for flavor and development is between 12-24 hours. Our preferred time is 18 hours in the fridge. We find that our loaves have better color, flavor, and rise when we bake at around 18 hours into the cold-proof.
Some suggest dough can go upwards of 36 hours in the fridge, but we find we start to get diminishing returns after 24 hours. So we do not advise going longer than that unless you need to, or are following a specific recipe that calls for it.