
One of the biggest problems when it comes to making bread at home is managing cold temperatures during winter. The irony is that many people often catch the baking bug during the winter. Right when baking bread takes just a bit more planning.
Cold weather is a challenge because many recipes are written for average room temps, which more often than not means something between 68-78° F. And in my experience, I see most recipes written for the higher end of that scale. This primarily has to do with yeast more than anything. Over many years (I just read a book last night from the 1800’s) bakers have landed on 75-80° F being the sweet spot for yeast in bread making.
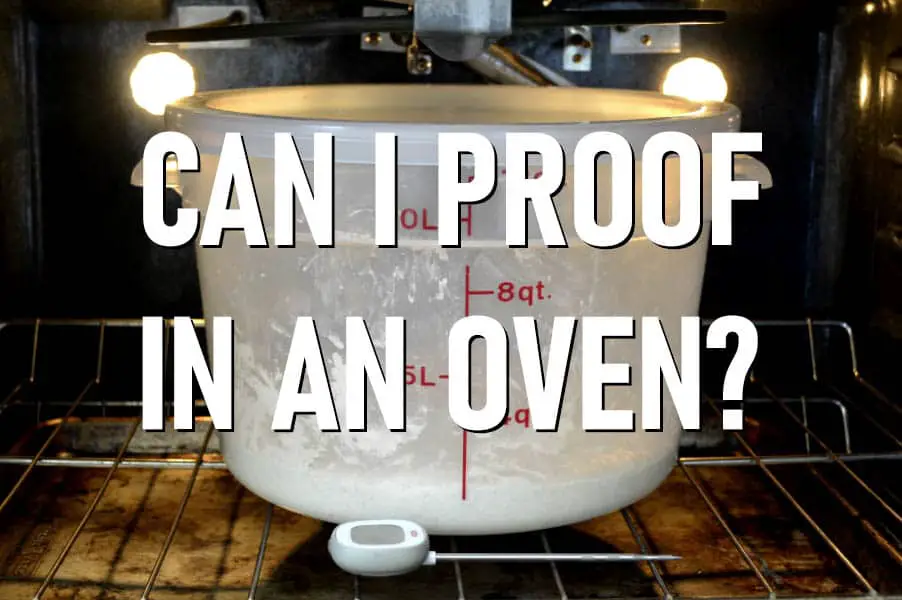
That means, for many of us, winter just doesn’t give us the room temps we need to hit that mark. And, for many of us, the oven is the first thing we think of for help. But, can we use the oven to proof dough?
Even though an oven should not be turned on with dough inside, it is still an excellent location to proof bread dough. There are three commonly used methods for proofing in the oven that do not require turning on your oven.
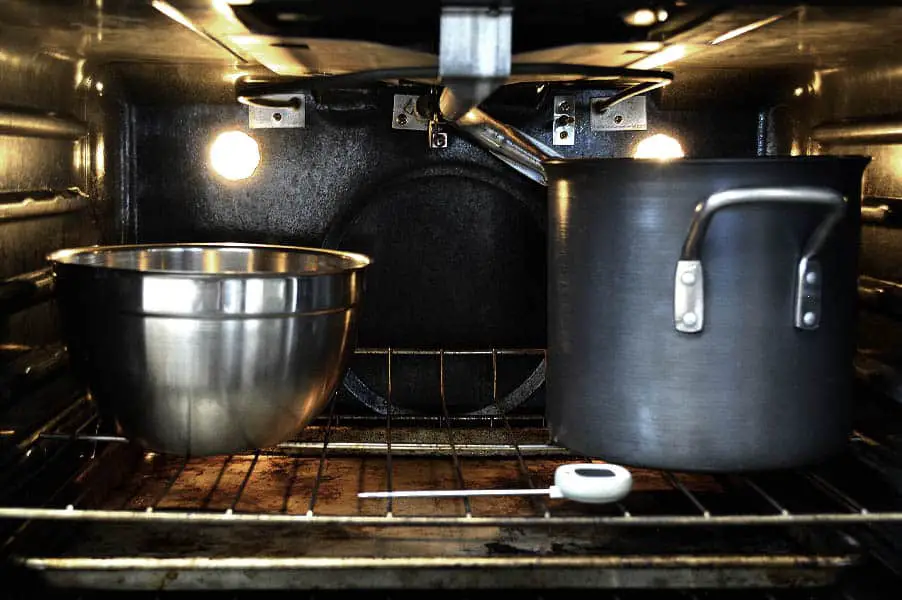
1. Placing a boiling pot of water in oven.
2. Turning an oven light on.
3. Placing a hot cast iron pan in oven.
It is far safer for your yeast to avoid turning your oven on at all to ensure you are not getting your oven too warm. Yeast will die off as temps start getting upwards of 120°F. They completely die once they reach 138°F. Unless you have a reliable thermometer to use in your oven, we’d avoid attempting to turn the oven on, even if doing an on and off method.
The exception is if you have a reliable proofing setting on your oven. Ours isn’t very reliable and keeps the temp around 100 degrees. That’s a touch too high for great gluten development to happen.
And honestly, we just find it easier to monitor with the three methods above. In our experience, each has its own merit and use. Let’s take a look at them.
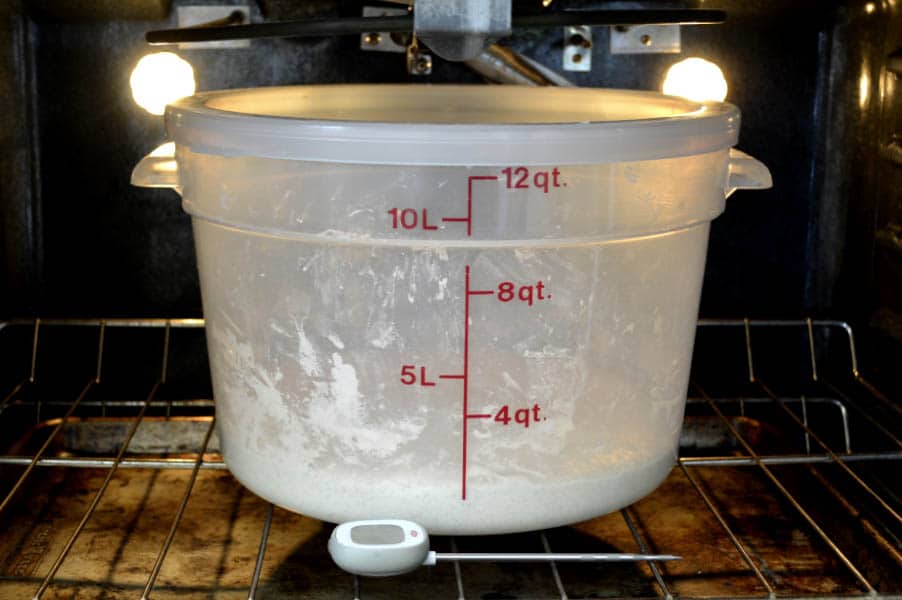
1. Using a Boiling Pot of Water
Using a boiling pot of water is very effective and has the benefit of adding moisture to your proofing period. Unless you find that you regularly have issues with too much moisture where you live, this is perfect for dough.
One thing to note when working with a pot of water for proofing is to not let the dough get too close to the pot of water. The water will be quite hot for a while, and the area closest to it will be much warmer than yeast can thrive in. Try leaving several inches between the two containers.
If your oven has the room, placing the dough and water on separate racks would be ideal.
If you are proofing for an extended time, in the case of sourdough, for example, you might need to refresh the boiling water every 40 min to an hour. But that is dependent on how cold your house is, how efficient your oven is at trapping heat in, and how much water you’re putting in there. If making sandwich loaves that only take an hour to rise, you’ll be fine with just one pot.
As we said above, how much water makes a difference in how long the oven will stay warm. Larger pots of water will keep heat in for longer. This has to do with a host of things involving the laws of energy.
We’re a bread blog, and do not claim to be experts in thermodynamics. But, just note, larger masses of water take longer to boil, and also take longer to cool. And that is the most important factor, how long it takes to cool. If you are making bread that takes longer to proof, it might be worth your while to go for a larger pot for this.
Just double-check to ensure your oven doesn’t start to go over 120 degrees. That is too warm for the best results. Solving for too much heat is a simple process of leaving your oven open until the temperature equalizes down to around 100 degrees.
It should only be a few minutes before you’re ready to leave it alone for the bulk of your proofing time. But, if it is your first time, babysit the oven a bit, to ensure it doesn’t get too warm or too cool.
2. Using An Oven Light
Using an oven light for baking bread will go a long way for keeping temperatures constant. Unlike using boiling water, for longer proofing, there is no need to refresh anything. Simply keeping the light on surprisingly does the job of keeping temps optimal. It’s a bit strange how well it works, too. Almost seems like it was designed to work that way.
Even though oven lights in most situations will keep temperatures inside an oven around the 74-78 degree mark, the downfall is that it takes a long time to warm up.
We find this method can take upwards of an hour to bring an oven up to proofing temps. If you’re someone who bakes a lot, using your oven light might not be the most economical or practical way.
I also find that our oven can struggle in this regard when it is extra cold. I hear that many bakers do not have this issue, so it might just be a difference in models and how well they trap heat in.
I also assume it has to do with how large one’s oven is. In theory, larger ovens will not be as efficient with the light method. Ours is on the larger side. Just something to consider on your end, if you give this one a go.
Using a Cast Iron Pan
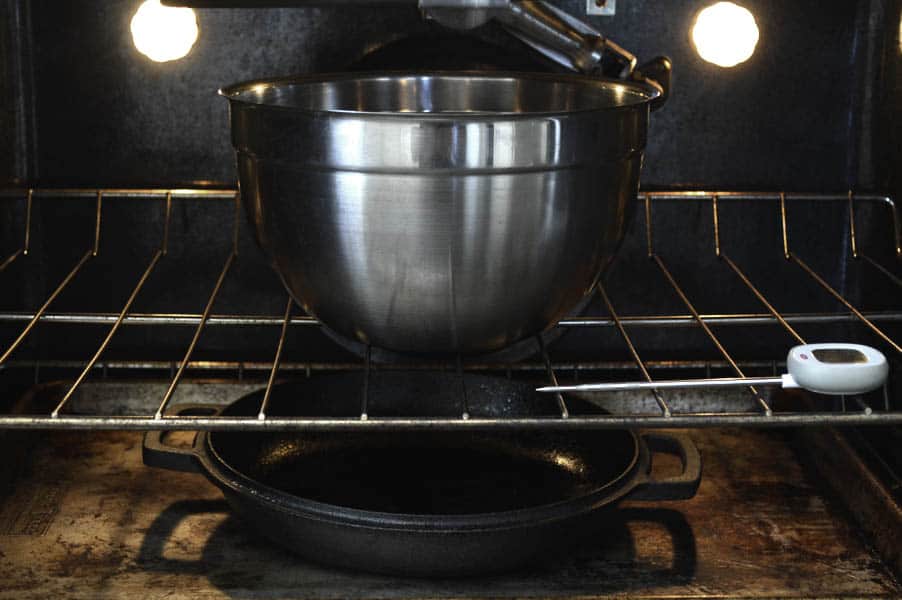
This is very similar to the pot of water method, but it takes less time to bring to temp than boiling water. It is also much faster than the light method at getting to temp. However, it does lack the longevity of the light method and the moisture of the water method.
This method simply involves putting a cast iron pan over high heat for a few minutes before placing it in an oven. If it starts smoking it is more than hot enough to use, but it is best to stop it before smoking happens.
No worries if it does smoke, just let it cool long enough so that the smoking stops (your dough will absorb the smoke otherwise) before placing it in the oven. We like to put it on the bottom rack as far away from our dough as our oven allows.
Once you place the hot pan in your oven, you’ll see the temp jump up by 10° or more within seconds. Close the door and after a few minutes with the oven closed it will likely be upwards of 20° warmer or more depending on the season. We find our oven tops out at around 115° F when we do this. We simply open the oven for a few minutes to let some heat escape down to about 100 degrees, place the dough inside and close the door again.
If all goes well, and you have a decent enough size cast iron, you will not need to reheat the cast iron for proofing times around an hour. However, as with the water method above, you might need to reheat the cast iron every 40 minutes to an hour if going longer than an hour proof.
There are just too many variables to give an exact number, unfortunately. But after your first time, you’ll have a great idea of what to expect. Hopefully, though, these ballpark figures will help you with the bigger picture when it comes to planning this out for the first time.
Simple Alternatives to the Oven
Microwave: If the oven doesn’t quite fit your needs, the microwave is an excellent choice as well. It is much smaller which we think actually makes it do a better job at retaining heat. The major downfall with the microwave, though, is the size. If you’re making larger batches of dough, they just might not fit in the microwave. But if you’ve determined the size is right, then here’s how we do it.
We place a warm damp towel over the top of the proofing bowl and leave it in the microwave. Like the other methods above, if going longer in proofing times you’ll need to refresh the towel.
Proofing Box: A proofing box is about as simple as it comes if you don’t mind making the additional purchase. As far as baking supplies go, it is among the more expensive tools out there. You can regularly find them on sale on Amazon though, so it’s always worth a look.
With a proofing box you just set your desired temperature and it holds it constant. This one by Brod and Taylor is collapsible which makes it easier to keep around smaller kitchens like ours. (Link takes you to Brod & Taylor’s Website)