
Once upon a time, I thought making bread from scratch was about the scariest, hardest thing a home cook could do. It was right up there with smoking your own bacon and canning your own pickles.
But this past summer I decided to jump in and give it a try. I was getting tired of paying a lot of money for reasonably healthy bread, or any money at all for junky bread.
After a little bit of research I found the book Flour Water Salt Yeast, by Ken Forkish. If you’ve spent any time around this blog, you know we refer to this book a lot. This was the game changer. Ken’s simple recipes, step-by-step instructions, and foolproof method took me from terrified to confident.
We still have a lot to learn when it comes to making bread. But I wanted to share with you the recipe that set me on my bread-making journey. If you’re a novice bread baker, hopefully this will give you a solid starting point. And if you’re a more experienced baker, maybe this recipe will be something new for you to add to your repertoire.
The Method
Any short search for bread recipes will show that artisan-style bread is quite popular at the moment. And it seems that the most popular type of artisan bread by far is the “no-knead” or “five minute a day” type of recipe.
Spoiler alert: this recipe that I’m sharing with you is not a no-knead or five minute a day bread. But neither is it a traditional, kneaded bread recipe.
In my mind, this is the best of both worlds. Like a no-knead bread, this recipe has very little hands-on time. Instead of actually kneading the dough, you use a technique called folding to build structure. It’s faster, easier, and done right in the mixing bowl (yay for less clean-up!). But unlike many no-knead recipes, this bread can be ready in five to seven hours.
The Steps
Here is a general outline of the method and steps involved. I’ll go into more detail about each step in the recipe itself.
First, you’ll mix the flour and water, and then leave it for about 15 – 20 minutes in a step known as autolyse. This gives the flour a head-start on developing all the proteins and sugars that give it its taste and structure.
After the autolyse phase, the flour and yeast are mixed in. Instead of kneading the dough, the ingredients are incorporated using a “pinch” and “fold” method.
The dough is then left at room temperature for about five hours, or until tripled in size. During this time the dough gets two more folds.
After the dough has tripled in size, it gets shaped into a round ball. It then proofs for about an hour to an hour and fifteen minutes.
When the dough is finished proofing, it’s baked in a pre-heated Dutch Oven for anywhere from 30 to 50 minutes.
After letting the loaf cool for at least 20 minutes, voila! A beautiful, delicious loaf of rustic, artisan bread.
Not-Quite No-Knead Artisan-Style BreadL
Very slightly adapted from the Saturday White Bread in Ken Forkish’s book, “Flour Water Salt Yeast”. I’ve halved the original to produce an amount of dough that’s more manageable for most home bakers, and tweaked some of the steps to make the process a bit more streamlined.
Ingredients
- 500 grams all purpose white flour or bread flour
- 360 grams water at 90 to 95 degrees (If you don’t have a probe thermometer to measure the temperature, just aim for somewhere between lukewarm and hot.)
- 11 grams salt
- 2 grams, or 1/2 teaspoon, active dry yeast
Directions
In a large mixing bowl, combine the flour and water. Cover with a kitchen towel or plastic wrap and let rest for 20 – 30 minutes.
Sprinkle the salt and yeast over the dough.
Wet your hand to make the dough easier to work with. Reach underneath the dough and pull about ¼ of it up and over the top toward the opposite side. This is called “folding” the dough. Working around the edge, continue folding each portion around the salt and yeast until they are fully enclosed.
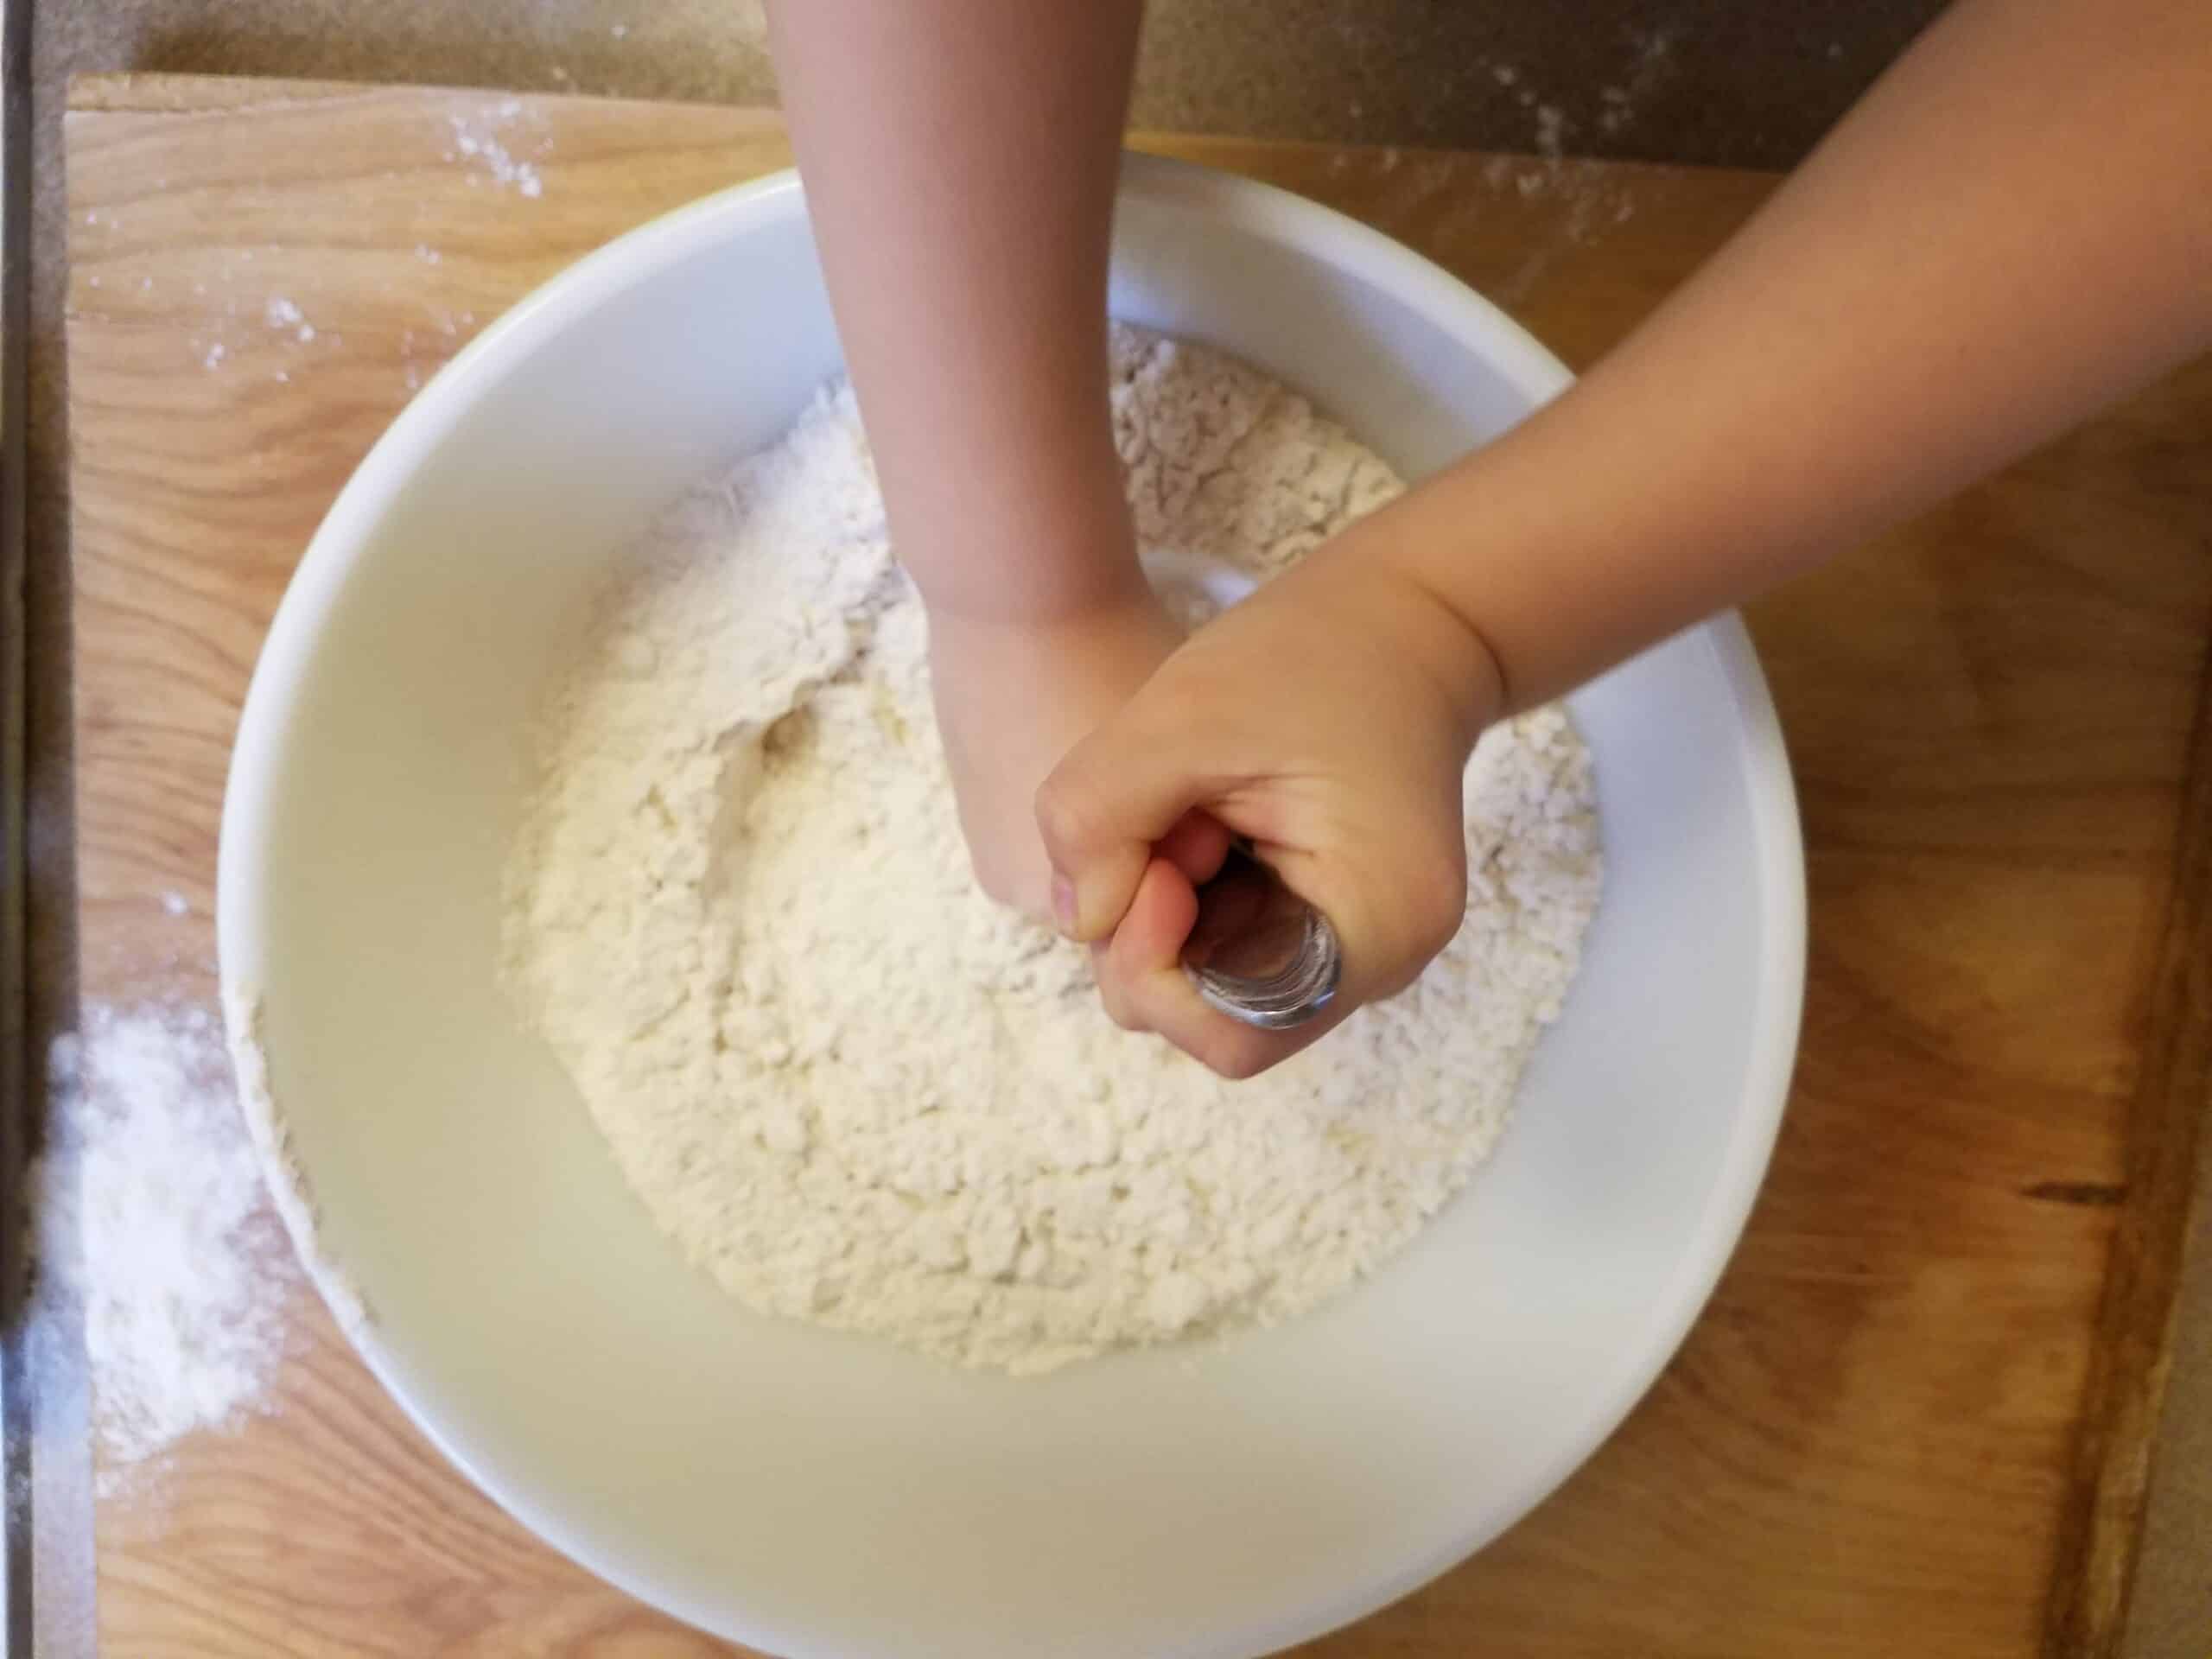
Create five or six “cuts” through the dough by pinching it between your thumb and forefinger.
Using the method described above, fold the dough several more times. Repeat cutting and folding until all of the salt and yeast are mixed in and the dough feels smooth.
Let the dough rest a few minutes, then fold for about another 30 seconds.
Cover the dough with a damp tea towel, shower cap, or plastic wrap. Let it rise until triple in volume. Depending on how warm your kitchen is, this could take anywhere from 3 – 5 hours.
During the rise time, you need to fold the dough two more times. Try to do the first fold about 10 minutes after mixing. The second fold can be done about 15 minutes after that. If you don’t get around to it for a while, that’s fine. As long as you don’t fold it during the last hour of rising it should be OK.
(Unlike the original fold that you did to mix all the ingredients together, each time you fold during the rising time just fold 4 or 5 times. So as you fold, the dough will form into a loose ball. You’re just going around the circumference of the ball once. And when you’re done, try to pick it up and invert the ball so that all the folds are on the bottom. Don’t worry about doing this too perfectly)
The dough it ready to be shaped when it’s tripled in volume. This can take anywhere from 3 to 5 hours, depending on how warm your kitchen is. For example, in the winter, when my kitchen is around 70 degrees, it takes the whole 5 hours for the dough to rise. In the summer, when my kitchen temperatures are close to 85, it only takes about 3 hours.
You’ll need part of your work space to be floured and part of it to be unfloured.
Gently pour the dough out of the bowl onto the floured section of your work space. It’s OK to flour your hands and the edges of the dough to help get it out of the bowl. If you have a dough scraper, use it to ease the dough out of the bowl. If not, just use your hands. You’re trying to prevent the dough strands from stretching and breaking too much.
Use the folding technique described above to shape the dough into a round ball. Flip the dough folded-side down and transfer to the non-floured portion of your workspace. Cup the dough so that your pinky fingers are resting on the workspace, and gently pull the dough towards you. Your goal is to use the tension of the unfloured surface to tighten the dough. Give the dough a quarter turn, and repeat. Continue the same steps (scooting the dough ball towards you, quarter turn, scoot some more) until the dough is tightened into a firm ball.
Gently transfer the dough ball to a proofing basket or mixing bowl lined with a well-dusted, lint-free tea towel.
(Don’t have a proofing basket or a lint-free tea towel? Do what I did when I first started making this bread and just put the dough in a well-oiled mixing bowl. It will stick a bit when it’s time to get it out. The only issue is that the final loaf of bread won’t rise quite as high as it would have. But other than that it will be just fine.)
Cover the dough with a damp kitchen towel, shower cap, or plastic wrap, and let it proof for about an hour to an hour and 15 minutes.
To tell when the dough is done proofing, gently poke it near the edge with a wet or floured finger. If the dough springs back quickly, it’s not done proofing. If it springs back very slowly and incompletely, it’s ready to bake. If it deflates a bit and doesn’t spring back at all, it’s possibly over-proofed.
At least 45 minutes before the dough is finished proofing, put a Dutch oven (or similarly shaped and lidded baking vessel) with its lid on in the oven. Preheat at 475℉ Fahrenheit.
When the dough is proofed, gently invert it onto a large piece of parchment paper.
Carefully pick up the parchment paper, with the dough inside, and lower it into the Dutch oven.
Use a sharp knife to score the top of the dough three of four times. Or, if you’re like me and don’t have a sharp enough knife to do this without ripping up the dough, use kitchen scissors to snip three or four gashes in the top of the dough.
Put the lid back on and transfer the Dutch oven to the oven. Keep the temperature at 475 ℉.
Bake for 15 minutes covered and 15 to 20 minutes uncovered. The goal is to end up with a dark golden crust with an internal temperature of at least 190°. If the 30 minute total bake time is too short, try adding 5 minutes at a time of the covered portion of the bake, up to 30 minutes. Still bake uncovered for the same 15 to 20 minutes.
(It might take you a little trial and error to find the perfect baking time for you. In the original recipe, Ken pleads with us to let our bread crust get as dark as possible for maximum flavor. His instructions are to bake for 30 minutes covered, then 20 minutes uncovered. I don’t know if it’s my oven, or my Dutch oven, but the first several times I made this recipe I’d take the lid off at the 30 minute mark and find a dark gold, perfect crust – with a burned bottom. Now I follow the timeline I shared with you here.)
When the bread is done, remove from the oven and carefully turn the loaf out of the Dutch Oven and onto a rack.
(Don’t have a rack? Prop the loaf on it’s side as it cools. I use two large cans to hold mine up.)
Let the bread cool for at least 20 minutes. Then slice it up, slather with butter, and gloat over your bread making success.