
Although I’m new to bread baking, I’m an old fan of Dutch ovens. My classic red Lodge Dutch oven has been a workhorse in the kitchen ever since receiving it as a wedding gift. It seems like it can do just about anything; sear meat, simmer soups, or caramelize onions.
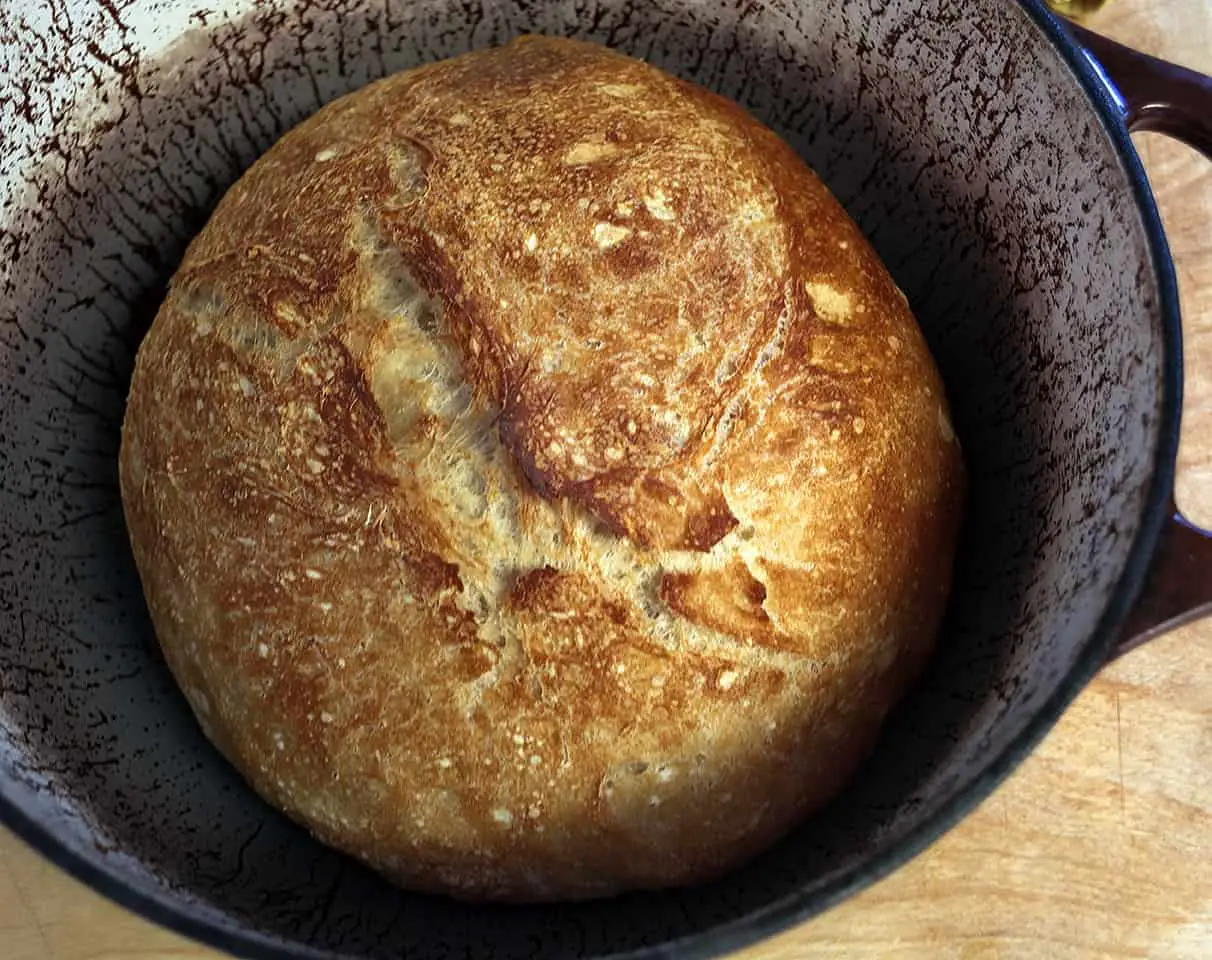
That’s why I was so excited to learn that you can bake bread in a Dutch oven, too. Dutch ovens are fantastic dishes for baking most kinds of bread. In fact, many no-knead and other artisan-style breads are actually better when baked in a Dutch oven, compared to a sheet tray or bread tin. That’s because a Dutch oven creates a steamy environment for the bread to bake in. The results are superior lift and a fantastic crispy crust.
What’s great about this is, if you’re new to bread-baking and don’t want to invest in a bunch of bread pans, you can start making bread with dishes you already have, especially the Dutch oven. There really are only a couple of very simple tips and tricks you need to know in order to get that Dutch oven cranking out tasty bread. But first, let’s look at why the dutch oven works so well for making bread.
Why it Works
What is it about Dutch ovens that make such magical loaves of bread? Actually, after doing a little research, it turns out there isn’t anything that special about it in and of itself. It’s mainly the fact that it has a lid, and that you can use it to cook bread in an enclosed vessel. This enclosed baking process creates steam, and as it turns out, steam is where all the magic happens.
Steam does a lot to improve bread as it bakes. Moisture keeps the crust from forming as quickly, which gives the bread more time to rise. It also gives the yeast more time to do its work of converting starches to simple sugars, which equals more flavor. When the crust does start to form, the starch that’s left on the surface of the bread absorbs the moisture, which makes it swollen and glossy.
To summarize: bread dough + steam = taller loaves, more flavor, and prettier crust.
And while there are a lot of ways to steam up your oven (such as putting boiling water in a pan on the bottom rack, or spritzing water into the oven just after putting your dough in), the beauty of the Dutch oven is that the lid keeps all that steam inside. It’s not that the other methods won’t work. They just might not work as effectively. And they certainly include more steps.
The other thing that makes Dutch ovens great for baking is how well they hold heat. Most home ovens don’t stay at a constant temperature; they fluctuate up and down in order to stay around the preset temperature. Because Dutch ovens are so thick, they retain heat well, and therefore keep bread baking at a constant temperature better than thin trays and pans.
How It’s Done
While each Dutch oven bread recipe will give you specific instructions, here’s an overview of how the process works.
- Make your dough according to the recipe.
- About 45 minutes before the dough finishes proofing, start preheating your oven with the Dutch oven inside. Most recipes call for really high heat, around 475°.
(Nervous about pre-heating your Dutch oven while its empty? The folks at King Arthur compared dough baked in a preheated one with the same recipe baked in a cold one, and found very little difference. So even though most recipes call for preheating the dish, you can actually skip this step. See their instructions here: https://blog.kingarthurflour.com/2017/07/05/baking-in-a-cold-dutch-oven/ )
- When the dough is proofed remove the Dutch oven from the oven.
- Put the dough carefully inside and close the lid.
- Put the Dutch oven back in the oven.
- Bake for about 15 to 20 minutes, and then remove the lid. You want to finish baking the loaf uncovered for maximum crust caramelization.
Tips and Tricks
- Make sure that your Dutch oven is rated for the temperature called for in a recipe.
- Also, make sure that any plastic handle or knob on top is safe for high temperatures. If it isn’t, check to see how it is attached. Many are simply screwed on through the bottom of the lid and can be easily removed.
- The #1 problem I have with this method of bread-baking is burning the bottom of the loaf. I have yet to find a recipe in which I can bake for as long as suggested. My solution is just to bake the bread a shorter amount of time. It’s still baked throughout, and I always end up with a golden crust. If you’re having the same issue, here are some suggestions:
- After shaping the dough, place it on a piece of parchment paper. When you’re ready to bake, place the whole thing, parchment paper and all, in the Dutch oven. Close the lid and proceed with the recipe.
- Move the oven rack to a higher setting before baking the bread, so that your dough is further from the heat source
- Put a pizza stone or similar heavy, oven-safe item on the rack under the Dutch oven. This will shield the dough a bit from the direct heat source.
- Sprinkle cornmeal in the bottom before placing the dough inside. This can also act as a buffer between the dough and the direct heat.
- Bake your loaf a little less, and/or on a lower heat setting than the recipe calls for. Just make sure your loaf is fully baked inside before removing it from the oven.
Recipe roundup
Here are some recipes to get you started:
- One of the recipes that started it all: Jim Lahey’s no-knead recipe, written up by Mark Bittman for the New York Times.
- My go-to: Ken Forkish’s “Saturday White Bread” recipe, from his incredibly helpful book, Flour Water Salt Yeast.
- And a sourdough loaf from the Pioneer Woman:
- Don’t have 14 hours to spare? Here’s a quick, 2-hour artisan-loaf recipe.
Related Questions
Will any brand of Dutch oven work?
As long as your dish is rated for the temperature called for in your recipe, you can bake bread in it! Lodge, Le Creuset…anything will work!
How do I bake bread in a cast iron Dutch oven?
If your cast iron dish doesn’t have the enamel coating, you can also still bake bread in it! You’ll follow the same steps and procedures as any other Dutch oven recipe. There’s no modification needed.
How do I bake bread without a Dutch oven?
Of course, bread pans or a sheet pan would work. But you can also bake bread in any covered dish, as long as it’s 1) Big enough to hold the dough and expanding loaf, and 2) Is rated for a high enough temperature. Even a glass Pyrex dish will do. Follow the steps exactly as you would for a Dutch oven. And again, if you’re nervous about the pre-heat, it’s not strictly necessary. Just pop in in the oven when the dough is ready.